Introduction
In this guide, we will explore how to secure public web applications running on Kubernetes using Authentik, a modern open-source identity provider. We will also leverage Cloudflare for additional security and performance enhancements. The setup will include Traefik as the ingress controller to manage incoming traffic to our applications.
Prerequisites
- A Kubernetes cluster up and running.
- Helm installed for managing Kubernetes applications.
- Traefik installed as the ingress controller.
- Authentik installed in your Kubernetes cluster.
Please check my previous posts for detailed instructions on how to set up Traefik and Authentik in Kubernetes.
How to Install Traefik in Kubernetes
How to Install Authentik in Kubernetes
Setup Guide
Step 1: Check your public web application
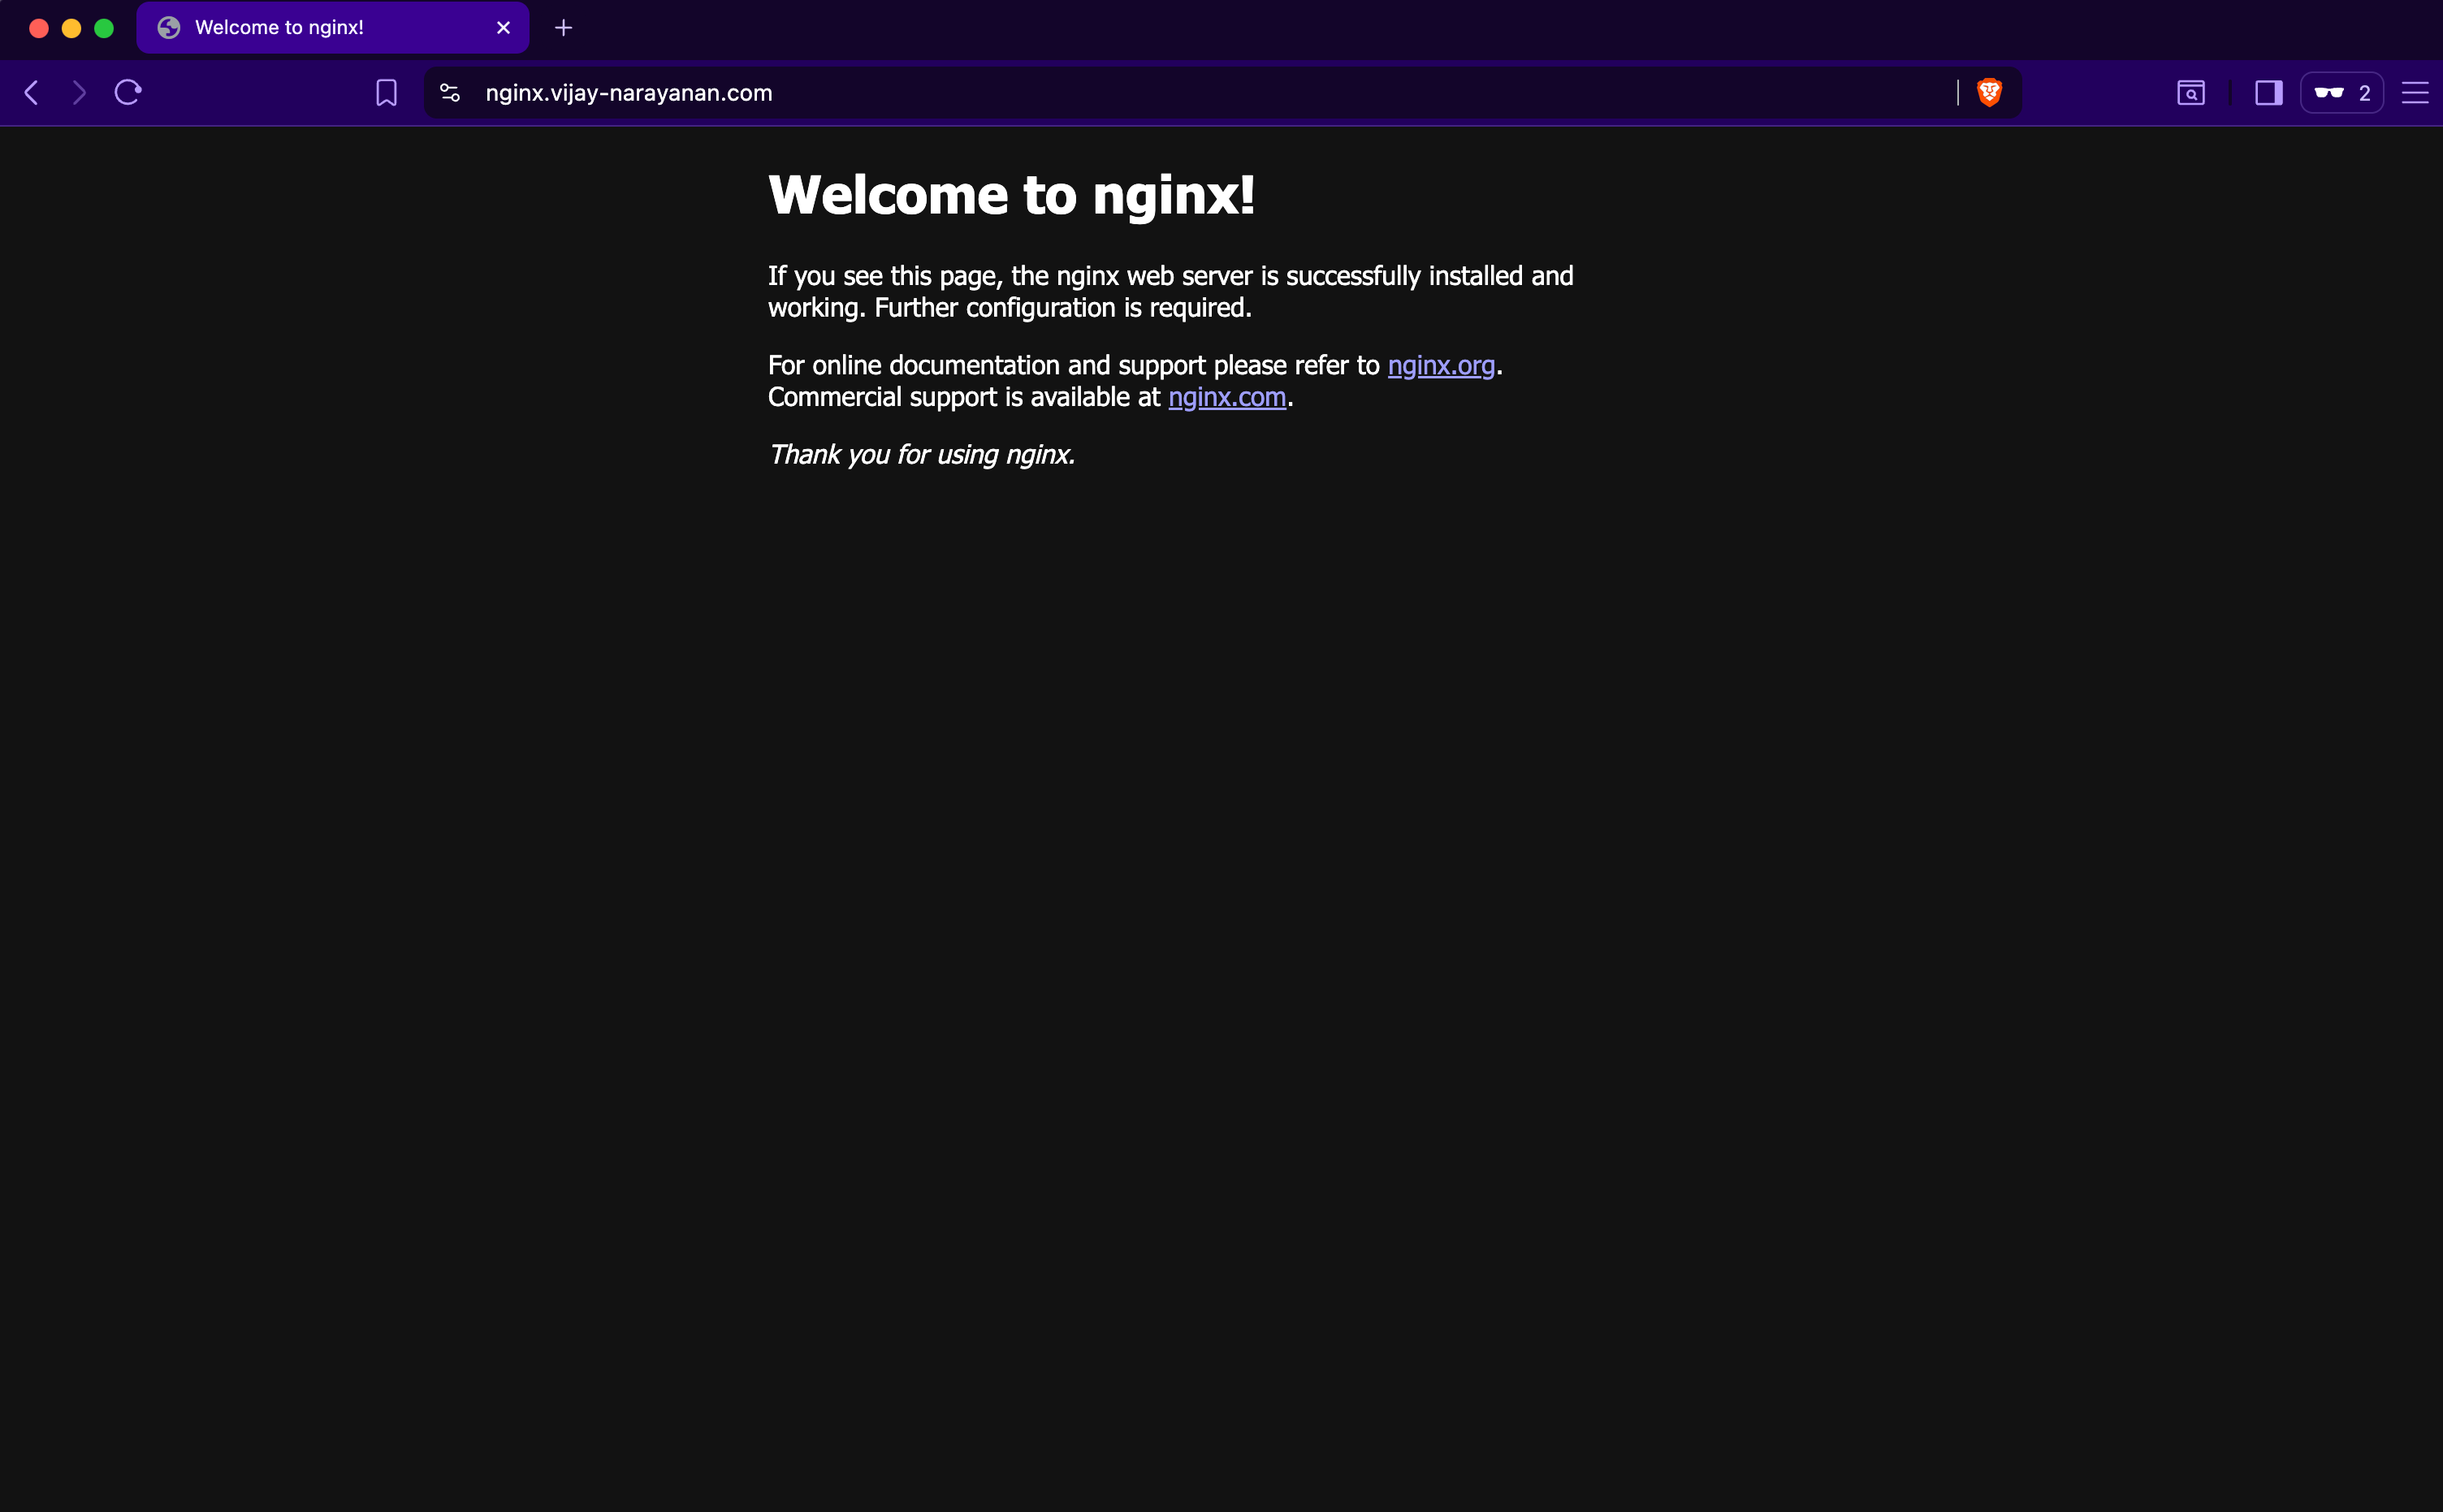
Ensure that your public web application is accessible via Traefik. You can do this by creating a simple deployment and service in Kubernetes.
kubectl create namespace nginx
kubectl -n nginx create deployment nginx --image=nginx:alpine
kubectl -n nginx expose deployment nginx --port 80
Create IngressRoute for the application:
# nginx-ingressroute.yaml
apiVersion: traefik.io/v1alpha1
kind: IngressRoute
metadata:
  name: nginx
  namespace: nginx
spec:
  entryPoints:
  - websecure
  routes:
  - kind: Rule
    match: Host(`nginx.yourdomain.com`)
    services:
    - name: nginx
      port: 80
Apply the IngressRoute:
kubectl apply -f nginx-ingressroute.yaml
Verify that the application is accessible via Traefik by visiting https://nginx.yourdomain.com.
Now the problem is that anyone can access this application without any authentication. To secure this application, we will use Authentik to enforce authentication before allowing access.
Step 2: Configure Authentik
Step 2.1: Create a Provider
Log in to your Authentik admin panel.
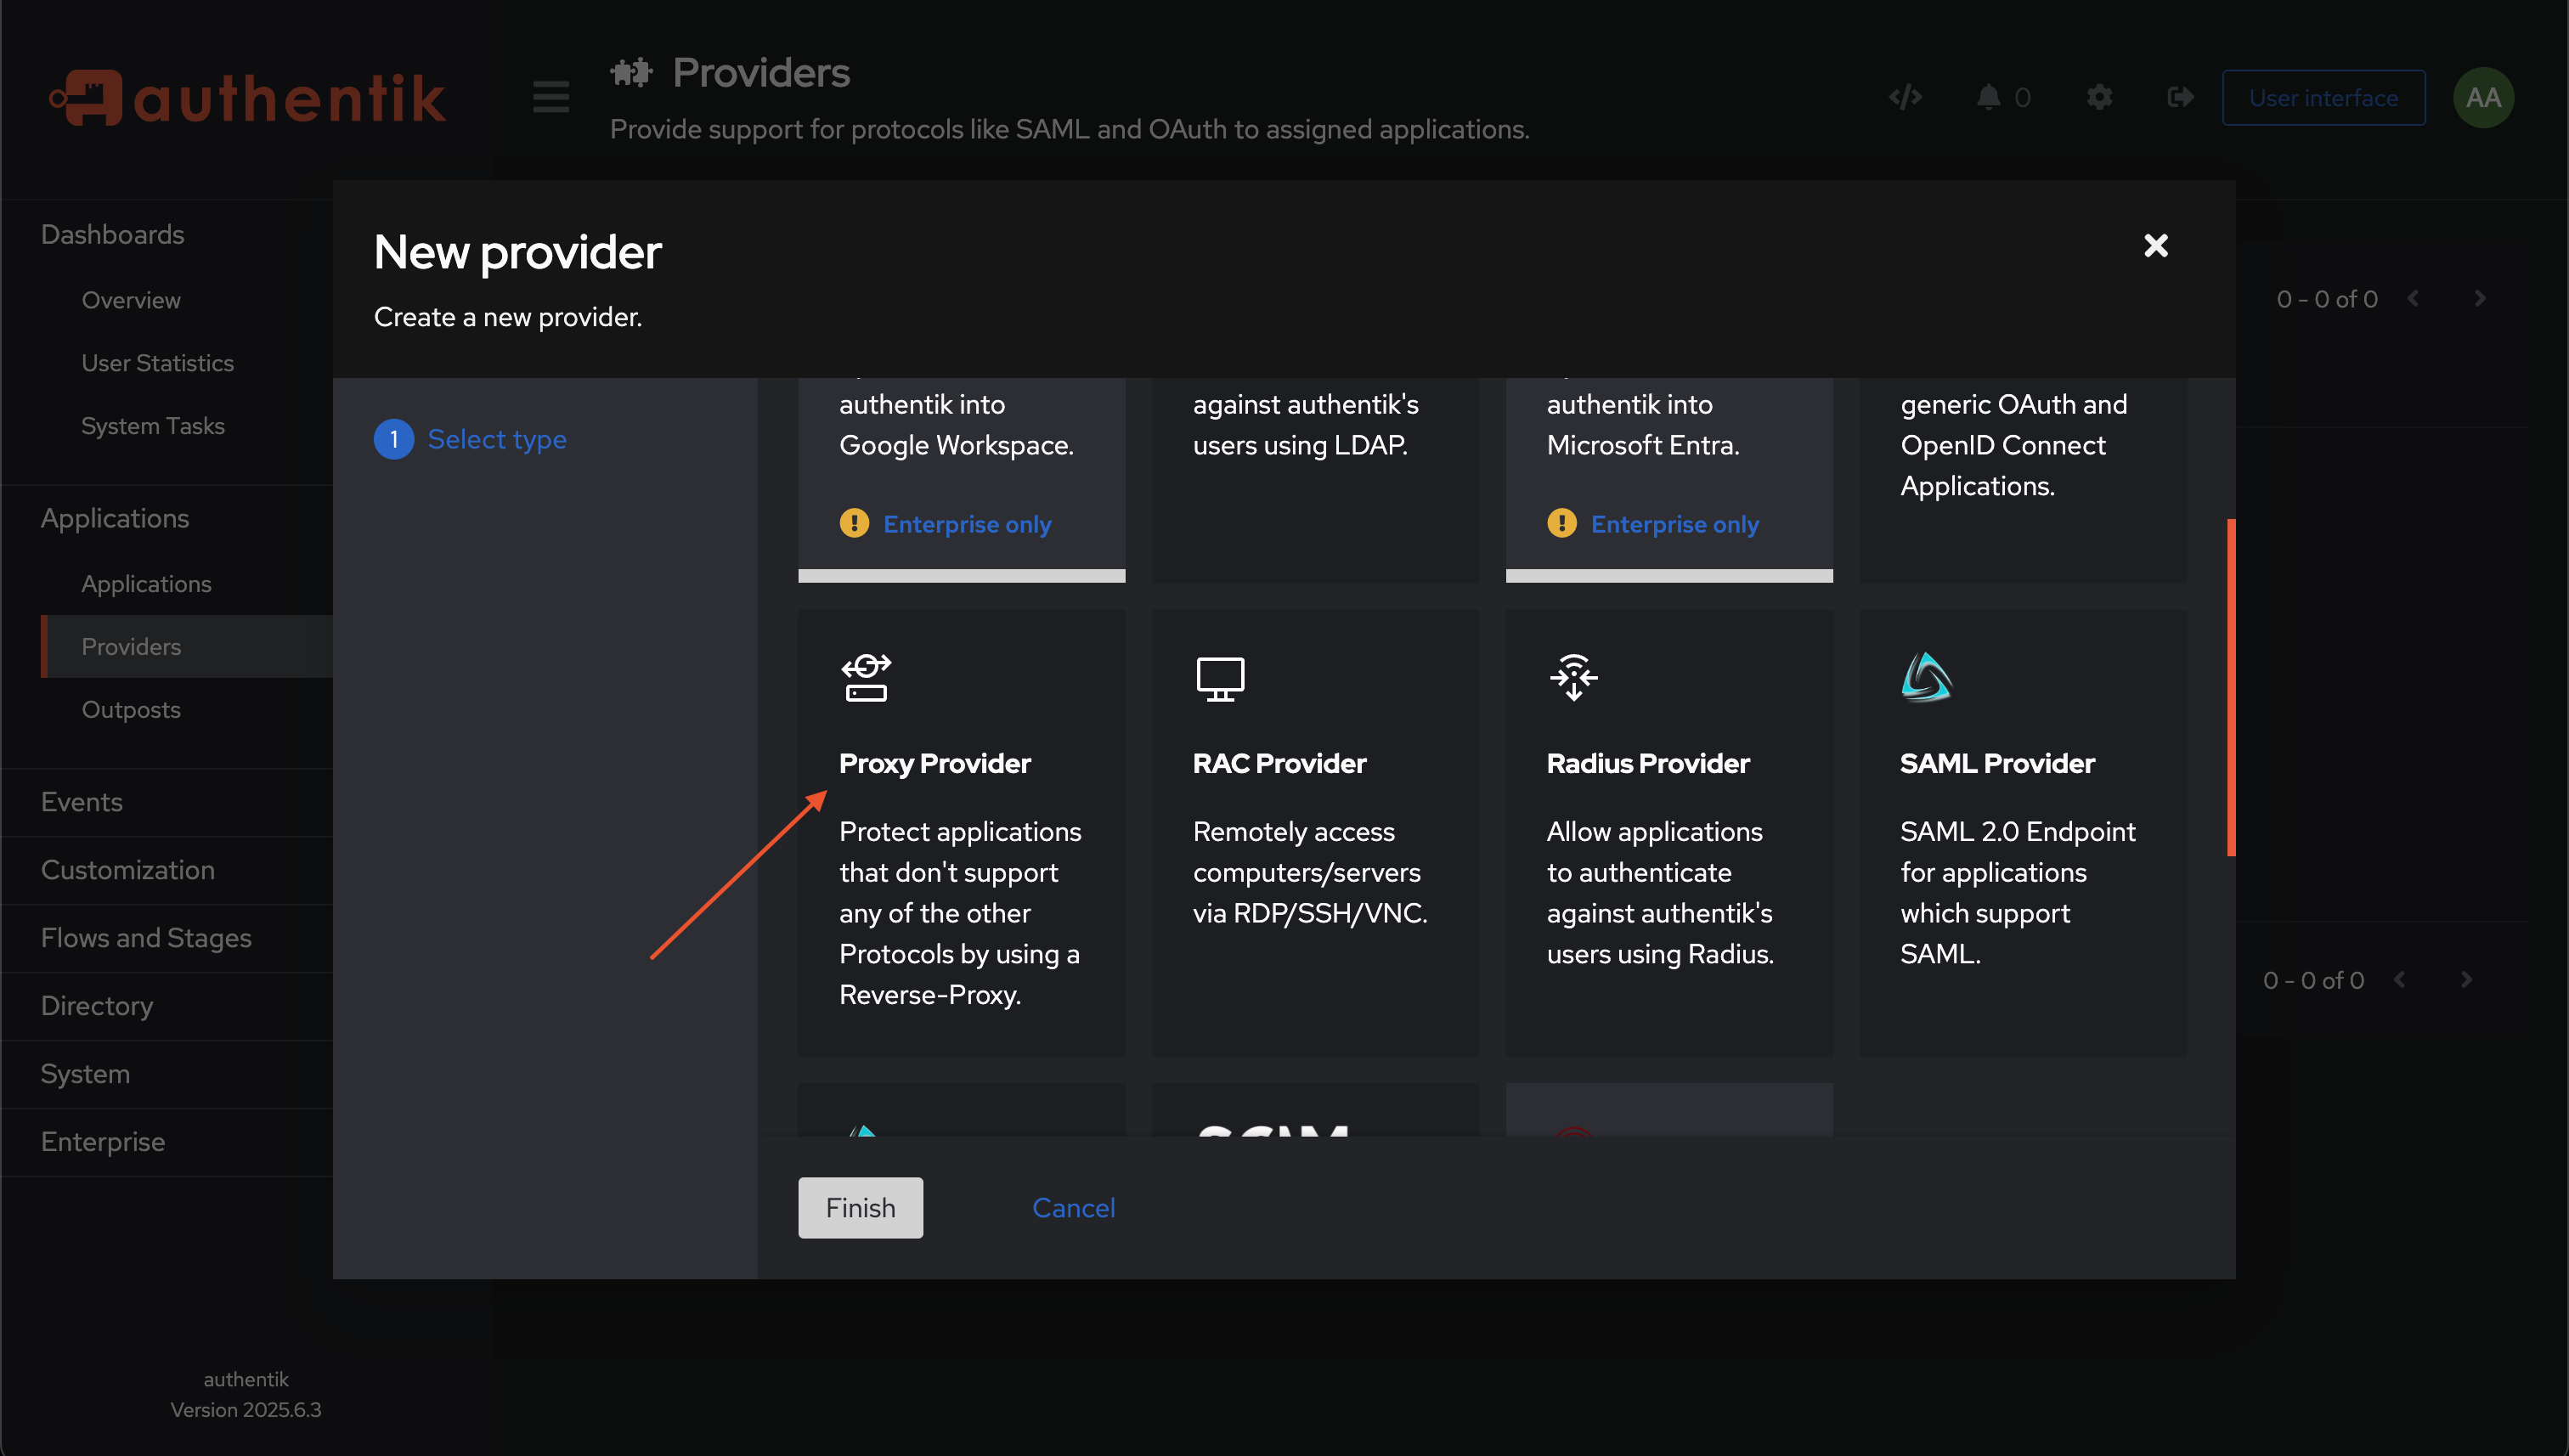
Go to Providers and create a new provider. Choose ProxyProvider as the type.

Click on Create and choose ProxyProvider:
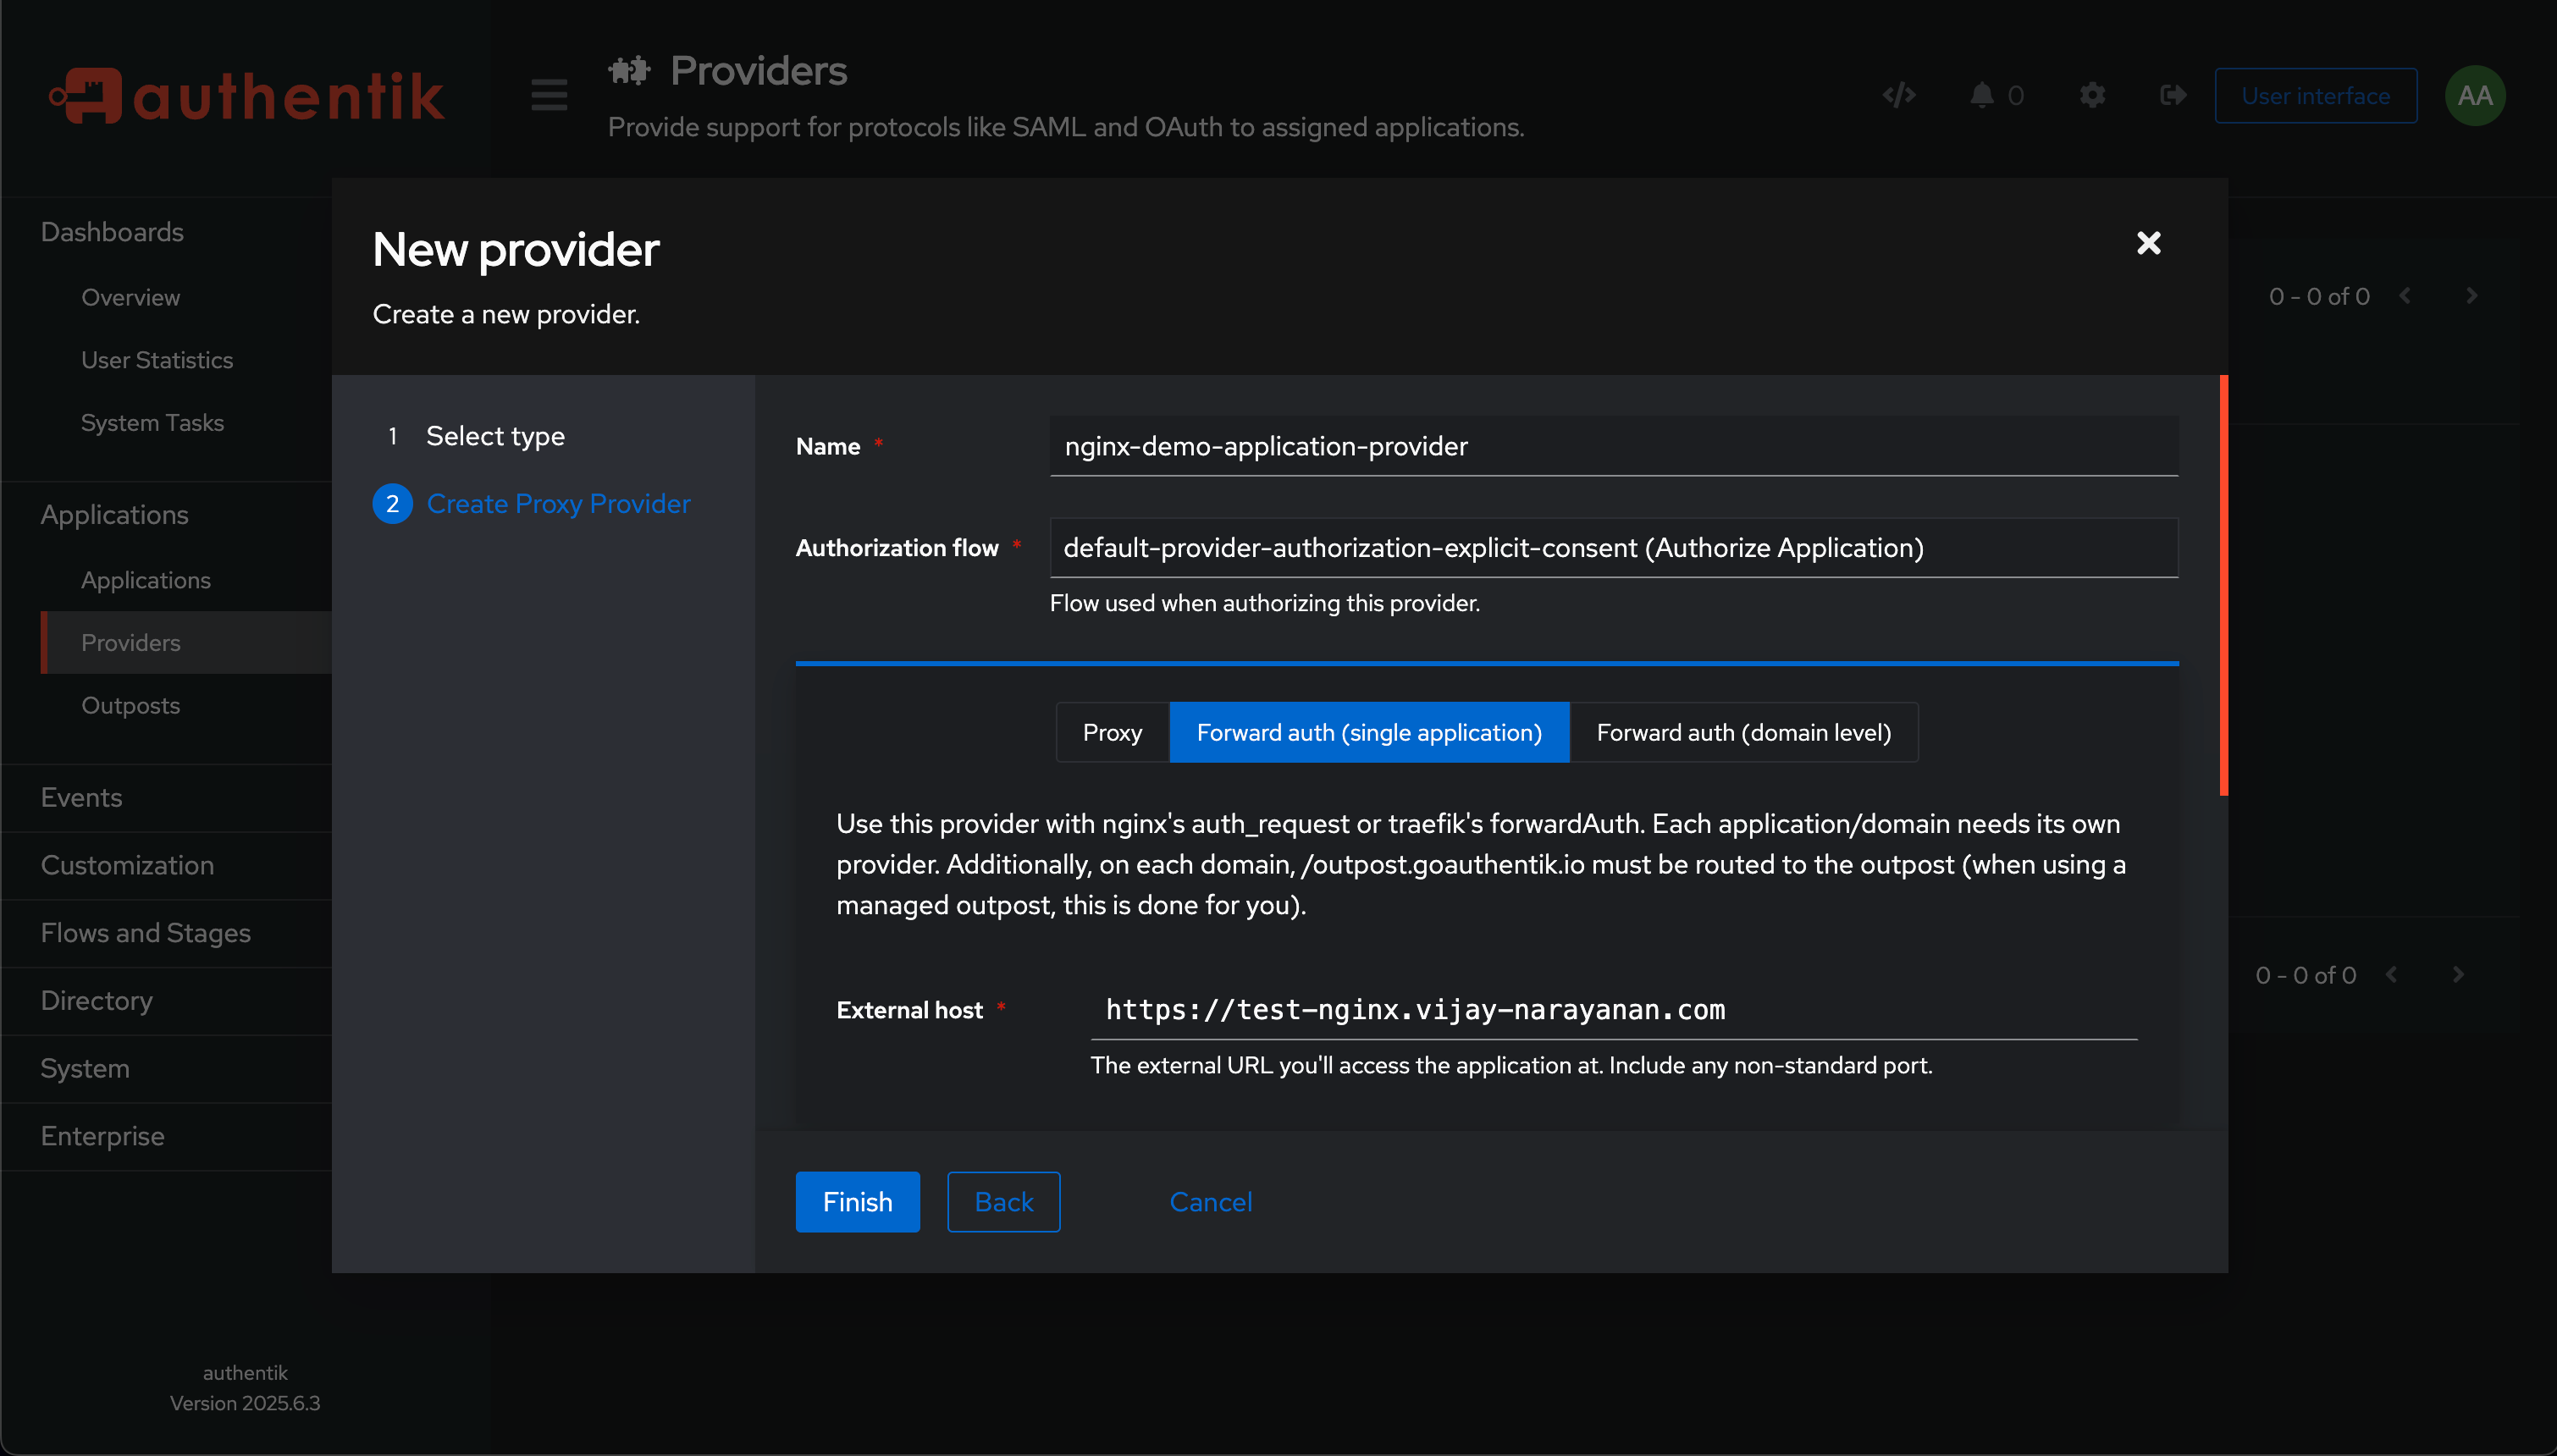
Fill in the required details as below:
- Enter your desired name for the provider (e.g., “nginx-demo-application-provider”).
- Choose
Authorization Flowas default-provider-authorization-explicit-consent (Authorize Application). - Choose
Forward auth(single application)option and enter the URL of your application (e.g.,https://nginx.yourdomain.com). - Finally, click on Finish to save the provider.
Step 2.2: Create an Application
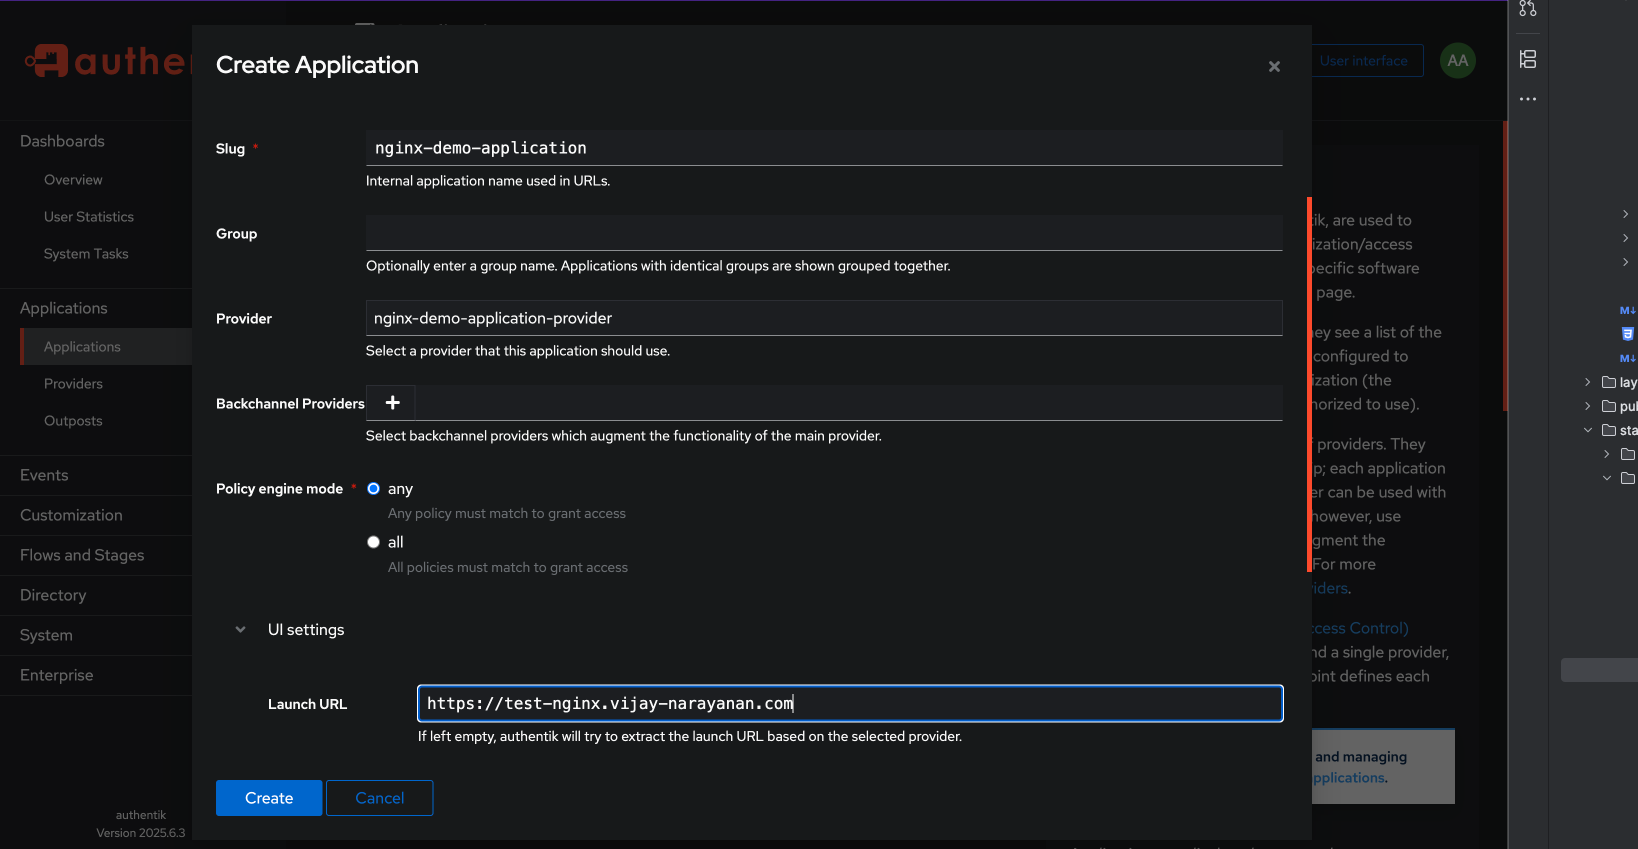
Go to Applications and create a new application.
- Enter a name for the application (e.g., “My Secured Application”).
- Enter the slug for the application (e.g., “nginx-demo-application”).
- Choose the provider you created in the previous step.
- Expand the
UI settingssection and set theLaunch URLto the URL of your application (e.g.,https://nginx.yourdomain.com).
Now the application is bind to the provider we created earlier, which will handle authentication.
Step 2.3: Create an Outposts
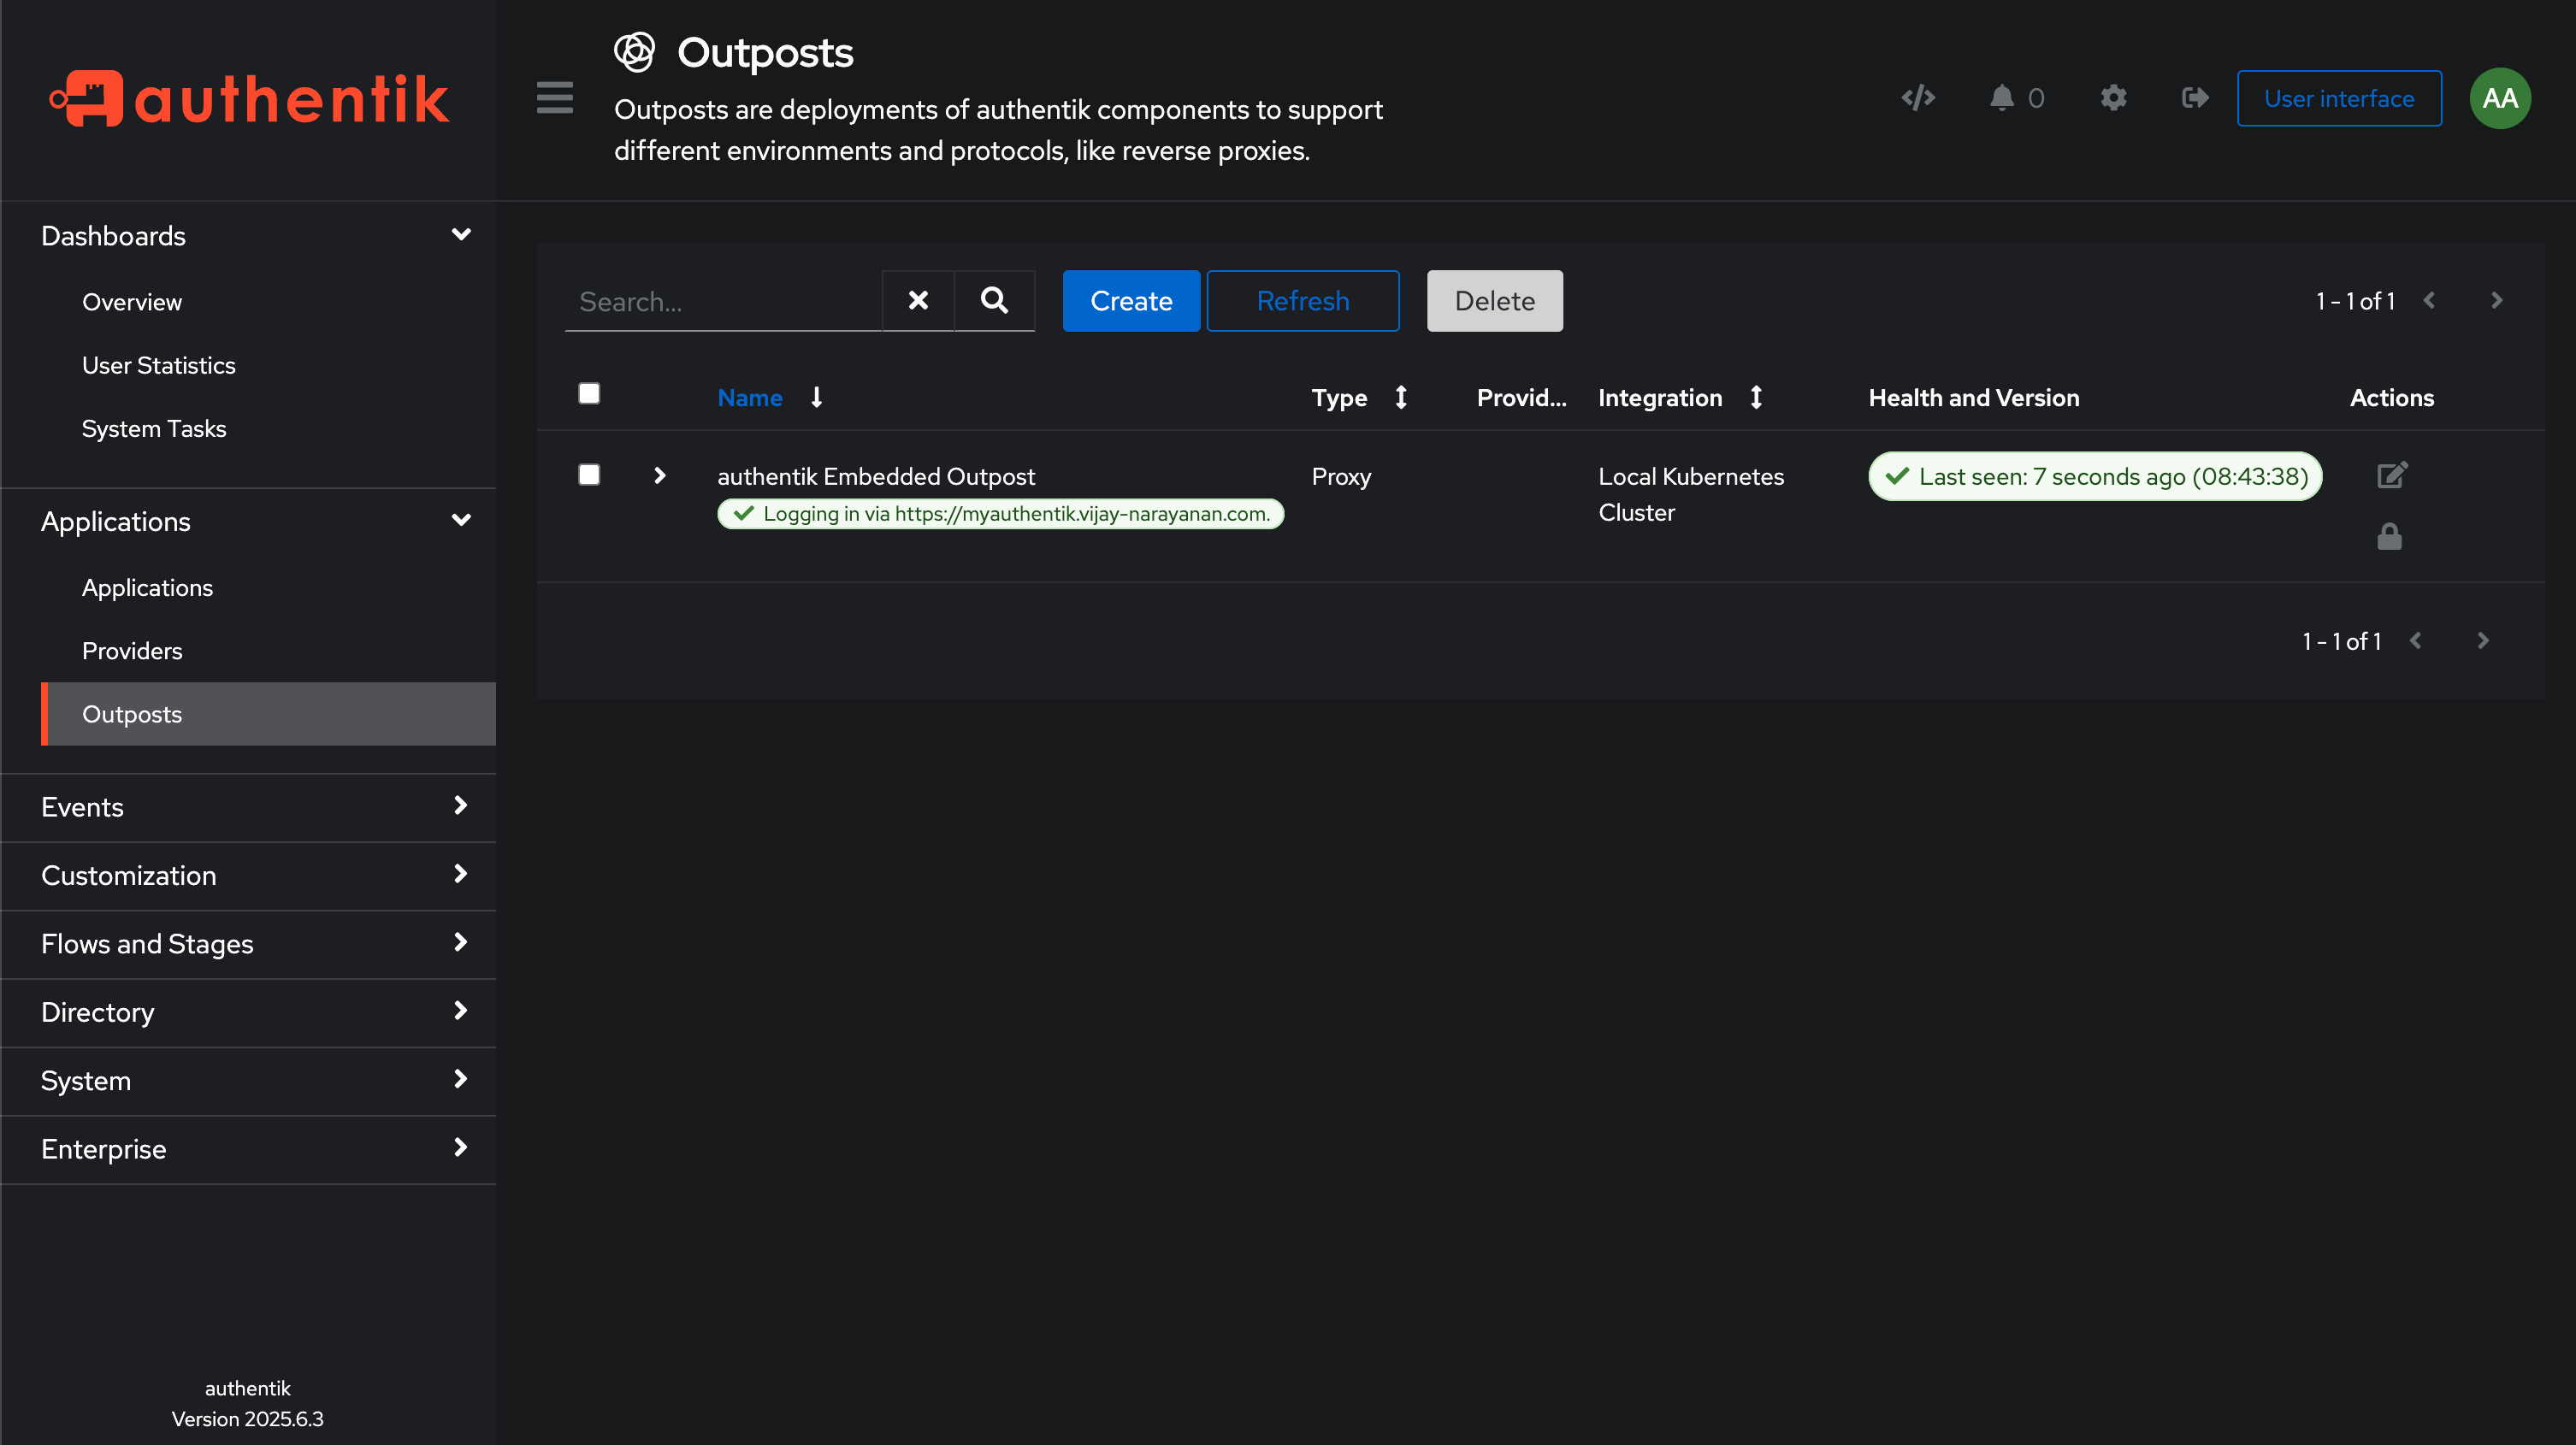
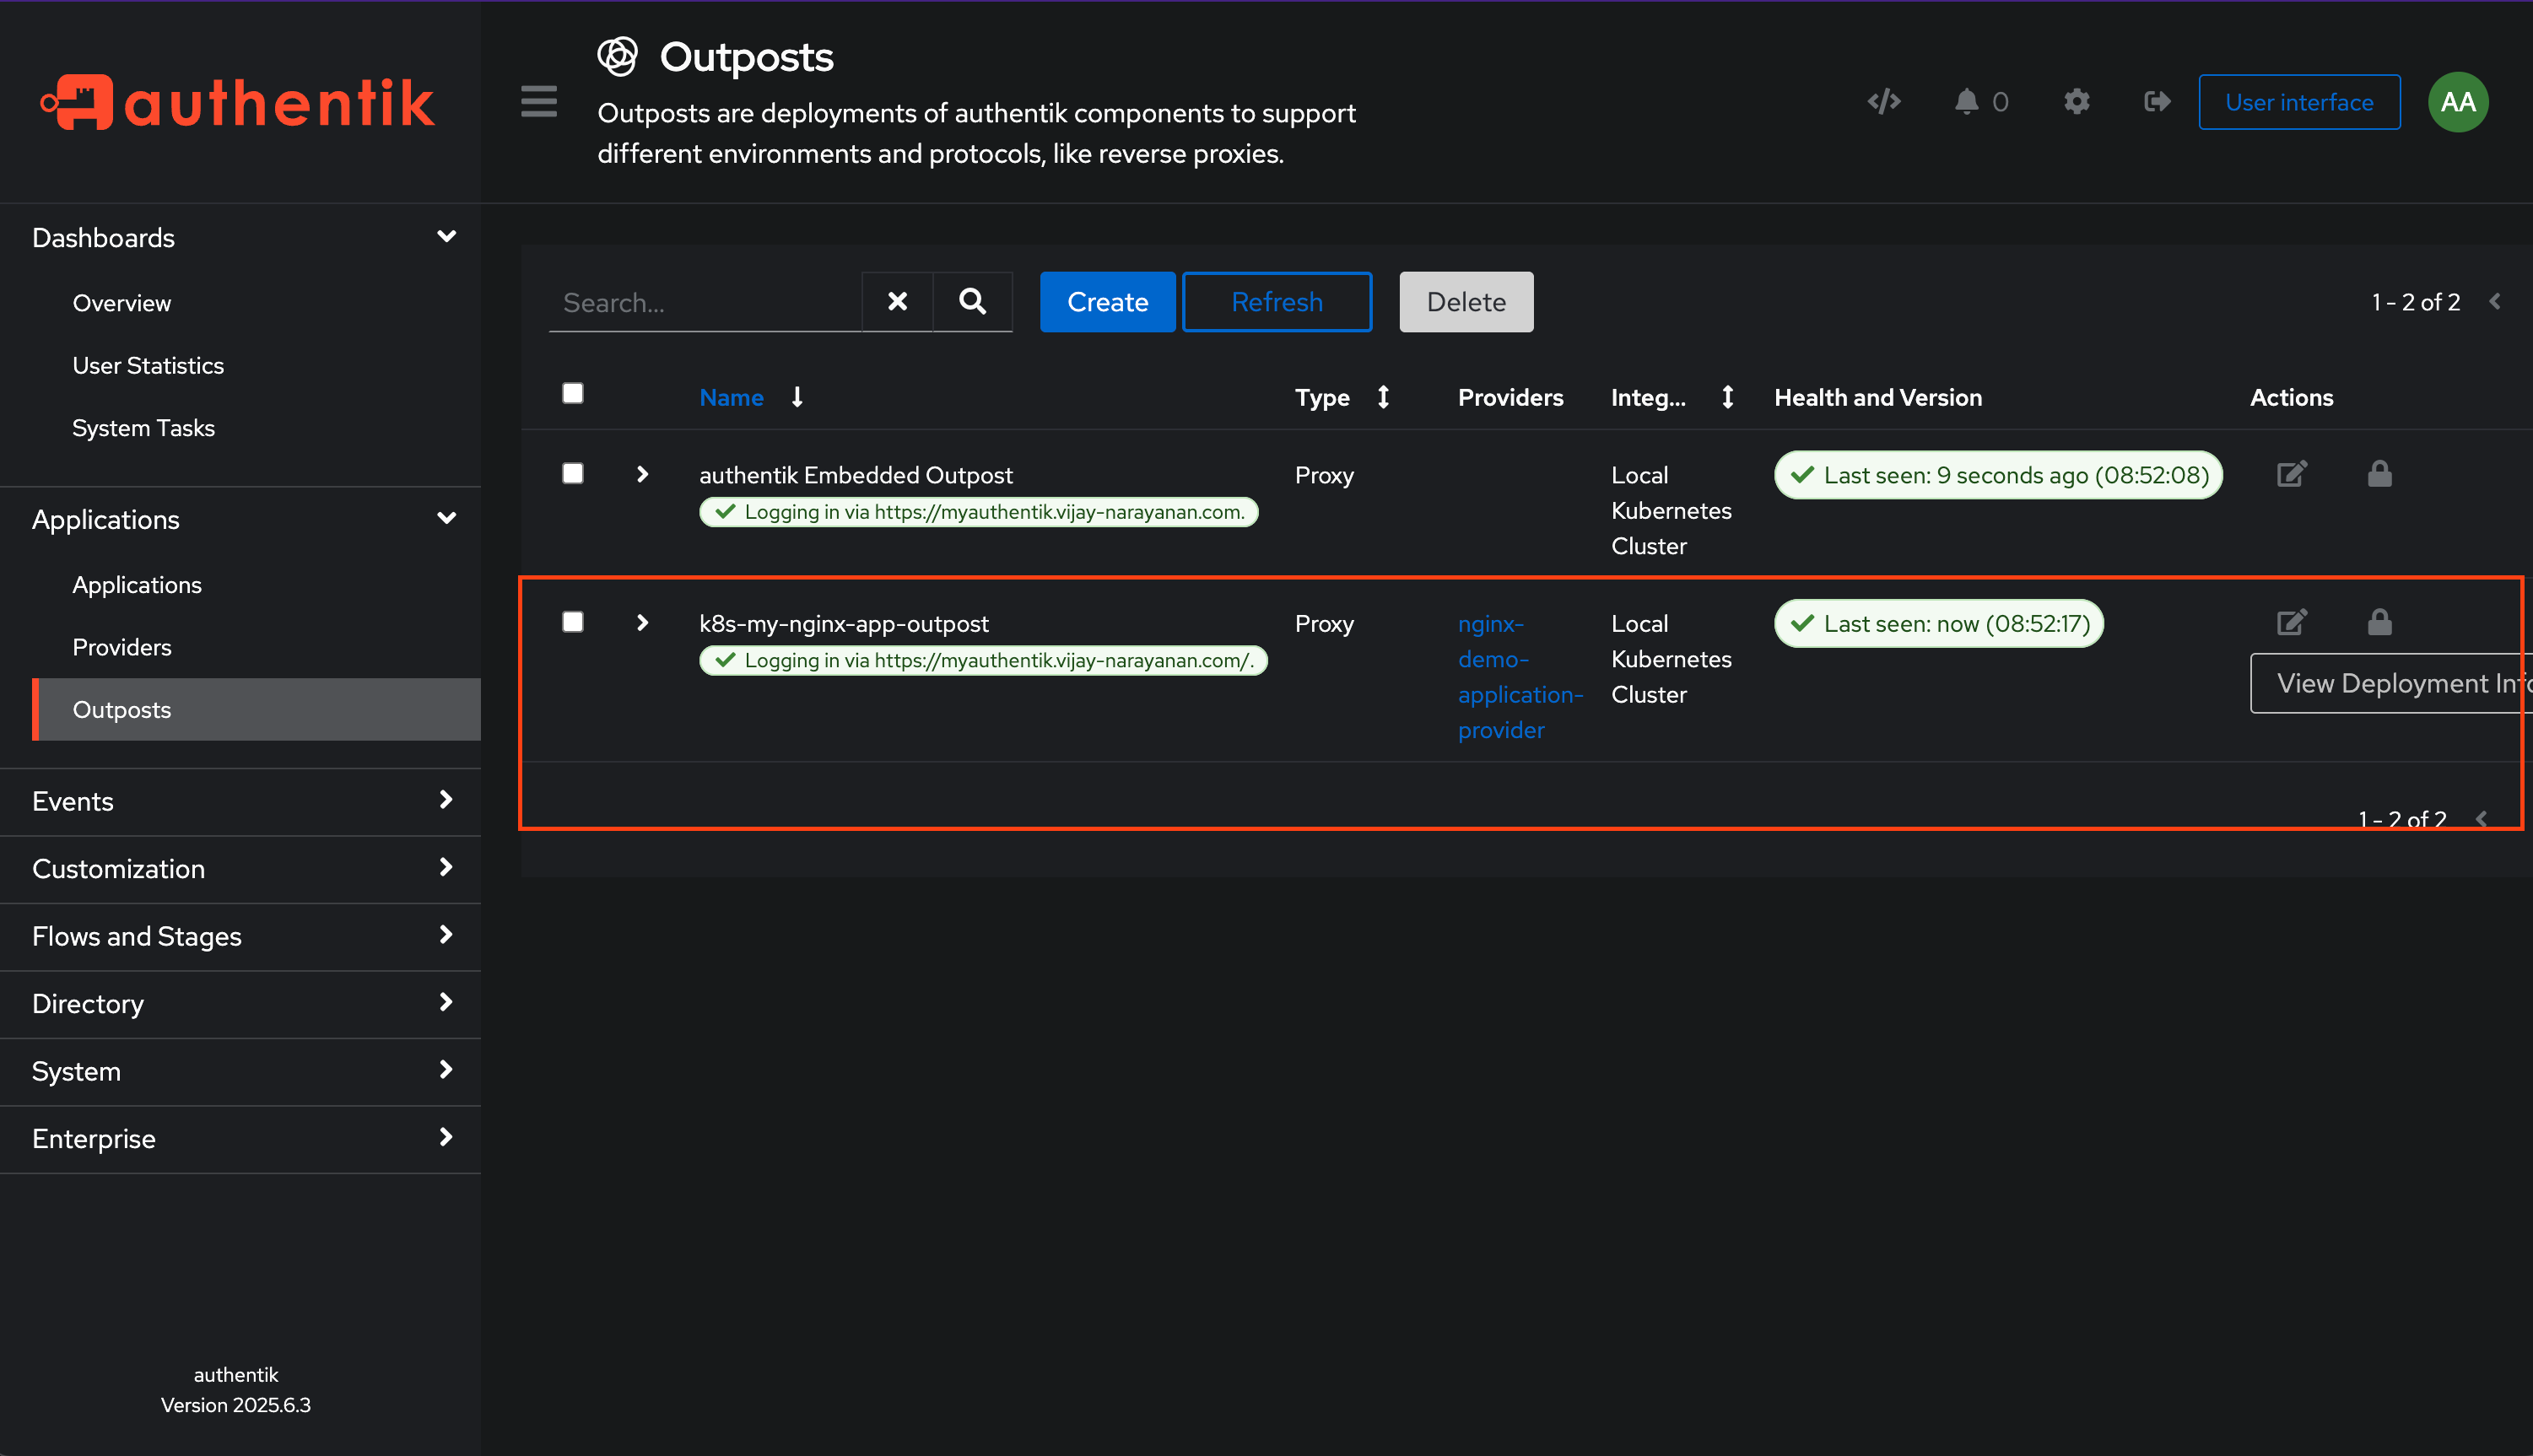
Go to Outposts and create a new outpost.
!10-authentik-outposts-blade.png
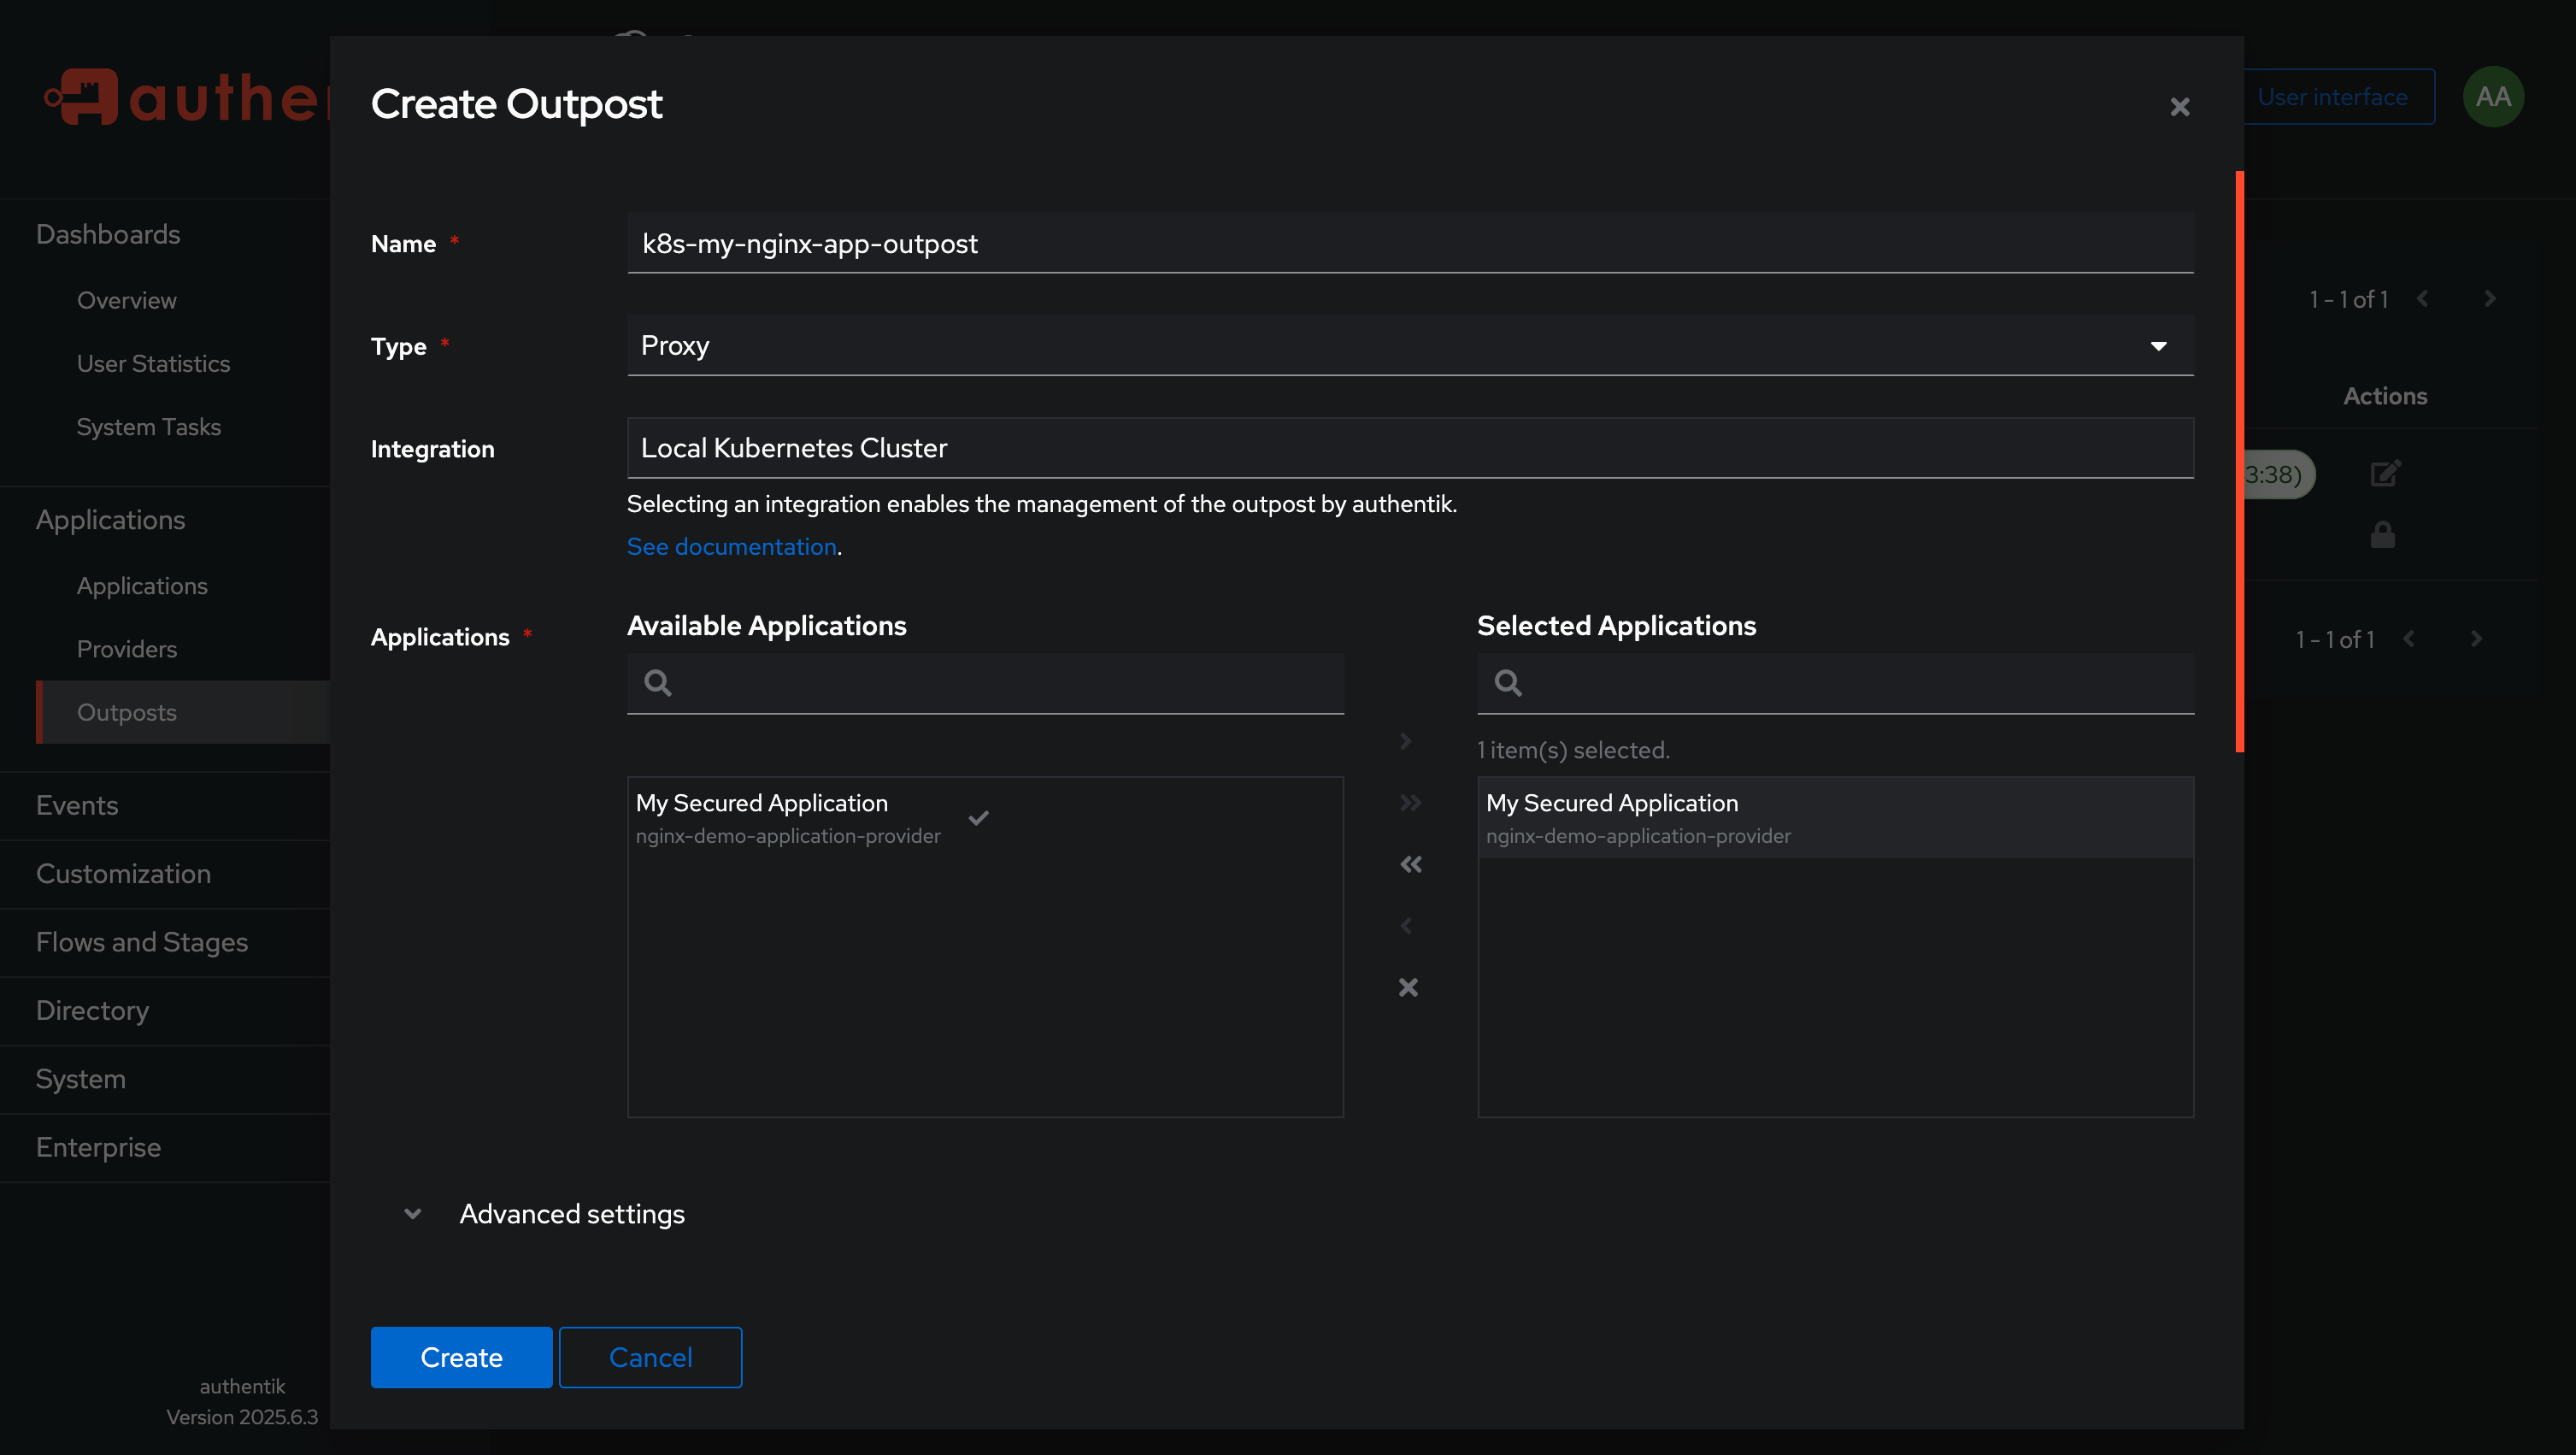
Click on Create and fill in the details as below:
- Enter a name for the outpost (e.g., “k8s-my-nginx-app-outpost”).
- Choose type as proxy.
- Keep the Integration type as Local Kubernetes Cluster.
- Now from the
Selection Section, choose the application you created and move to the right side. - Expand the
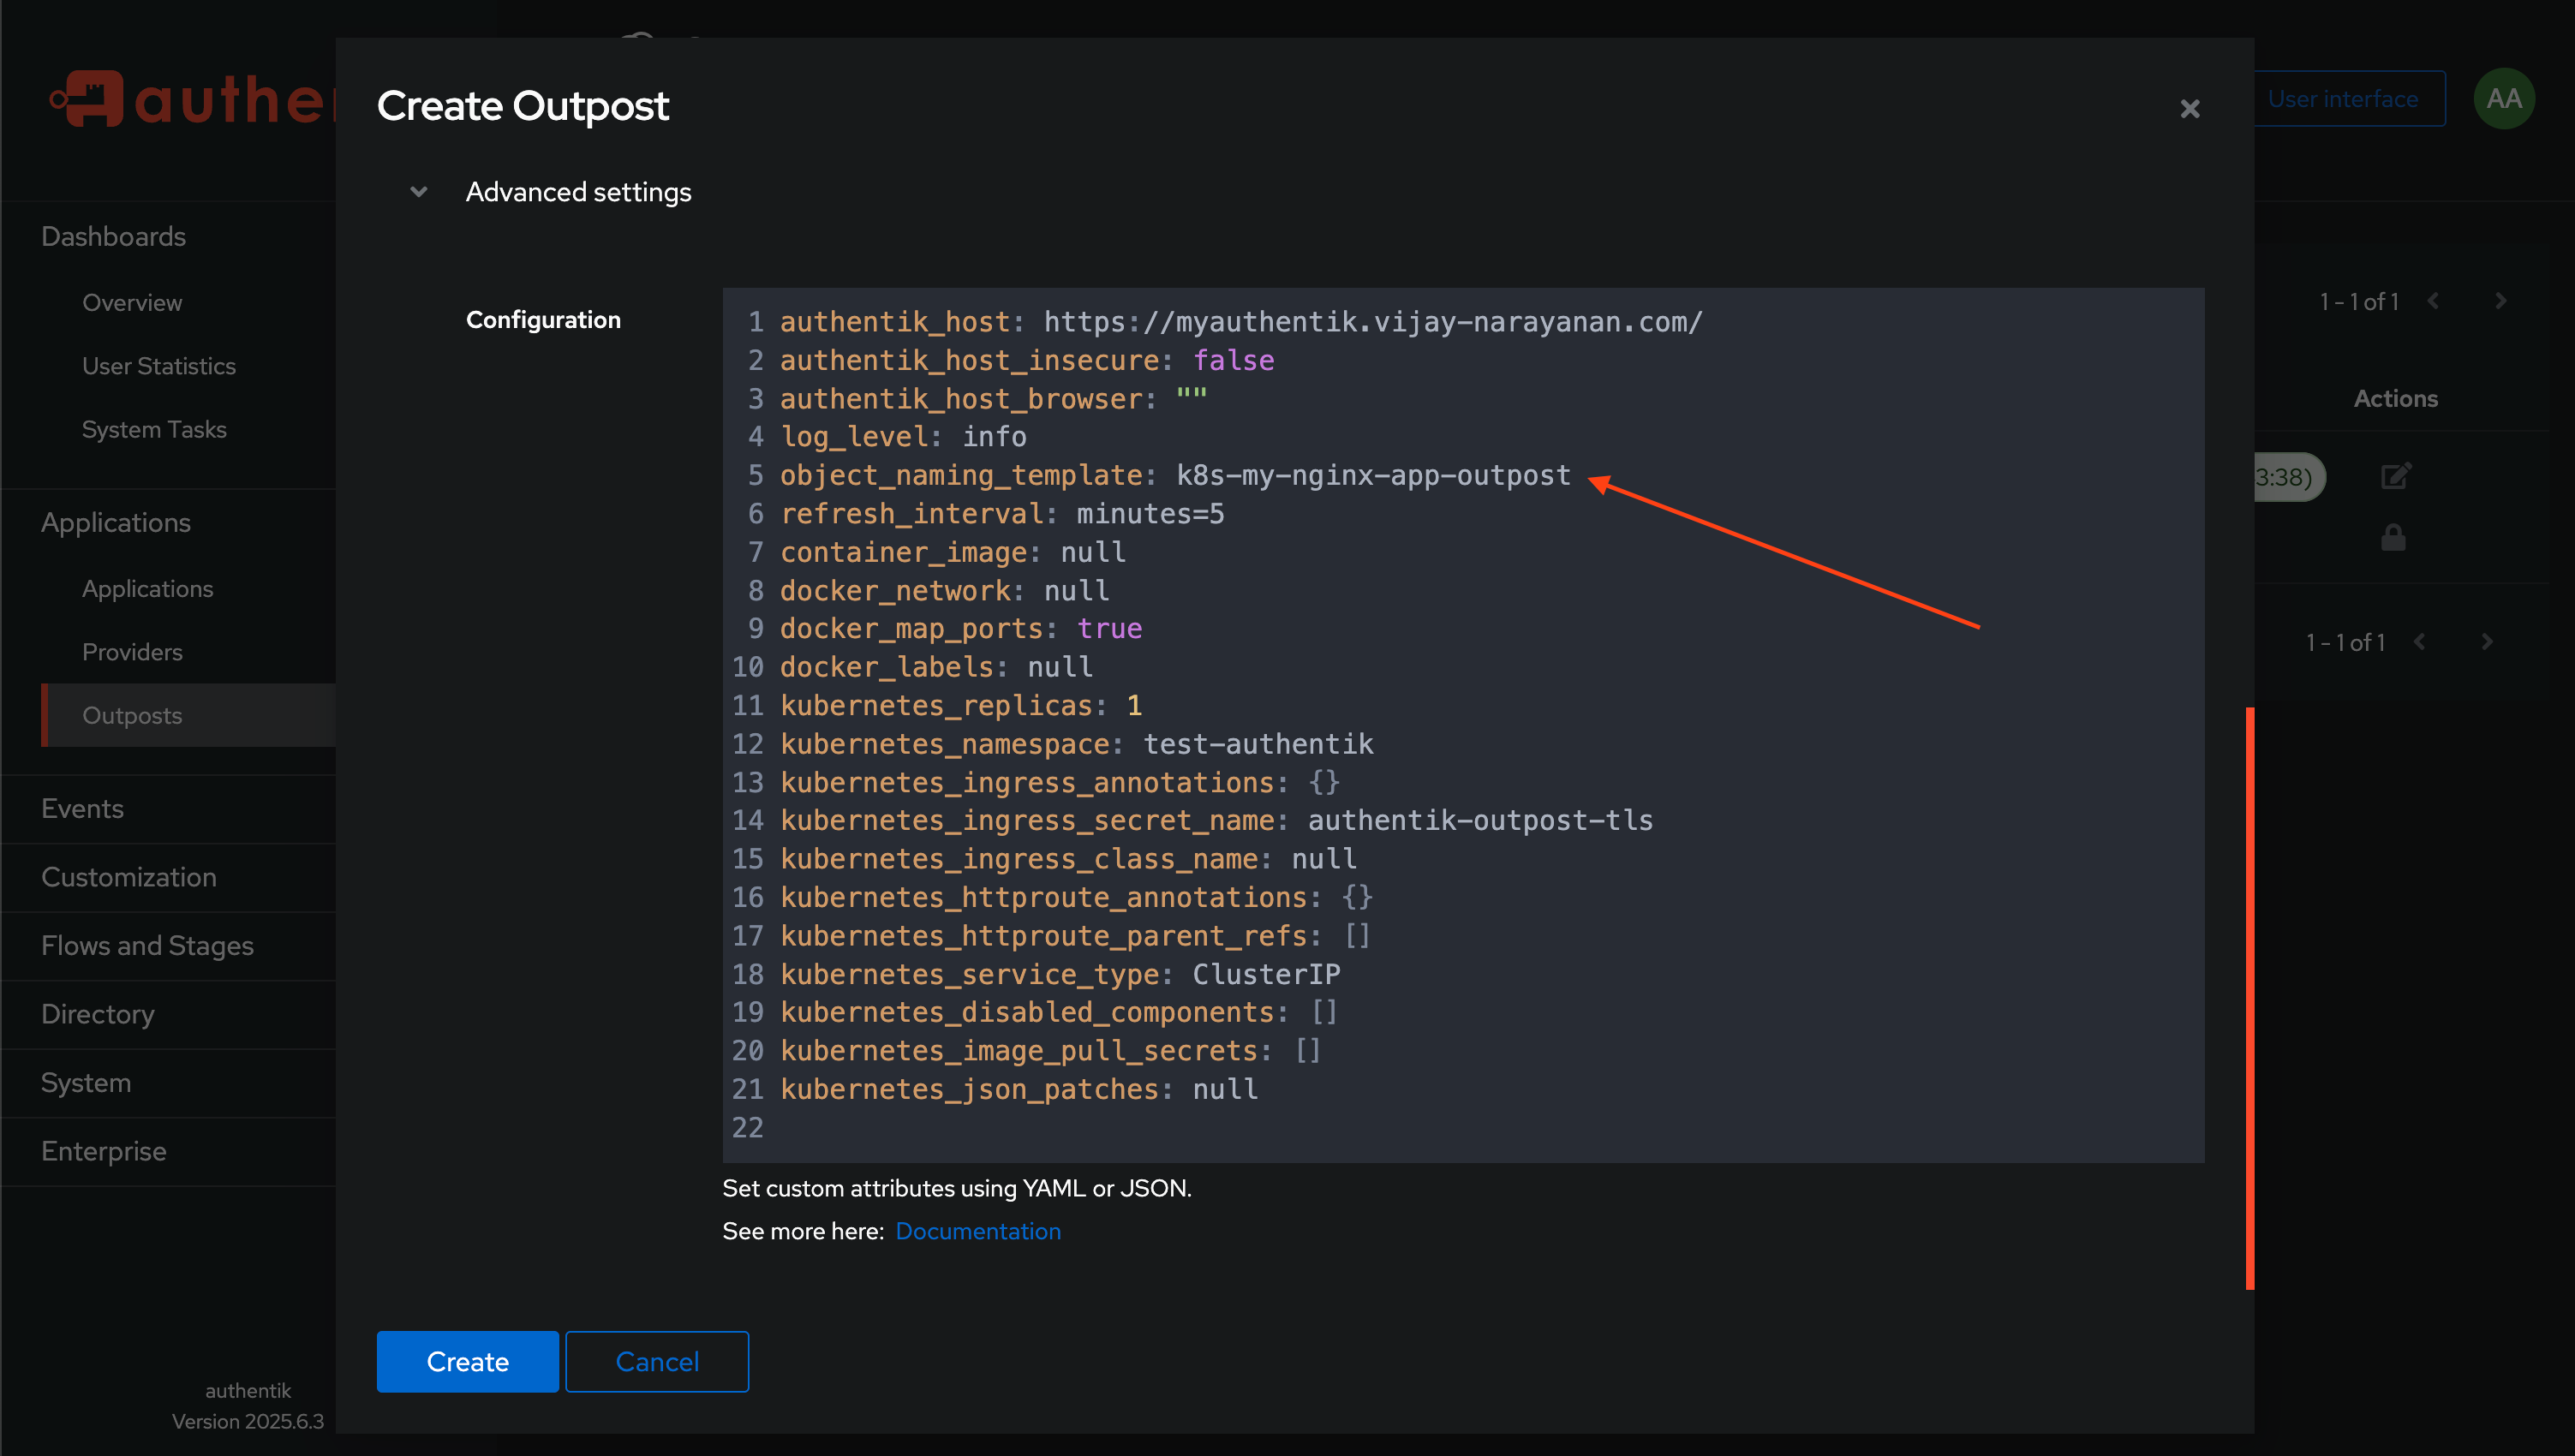
Advanced Settingsand change theobject_naming_templatevalue as same as the name of the outpost (e.g.,k8s-my-nginx-app-outpost). - Finally, click on Create to save the outpost.
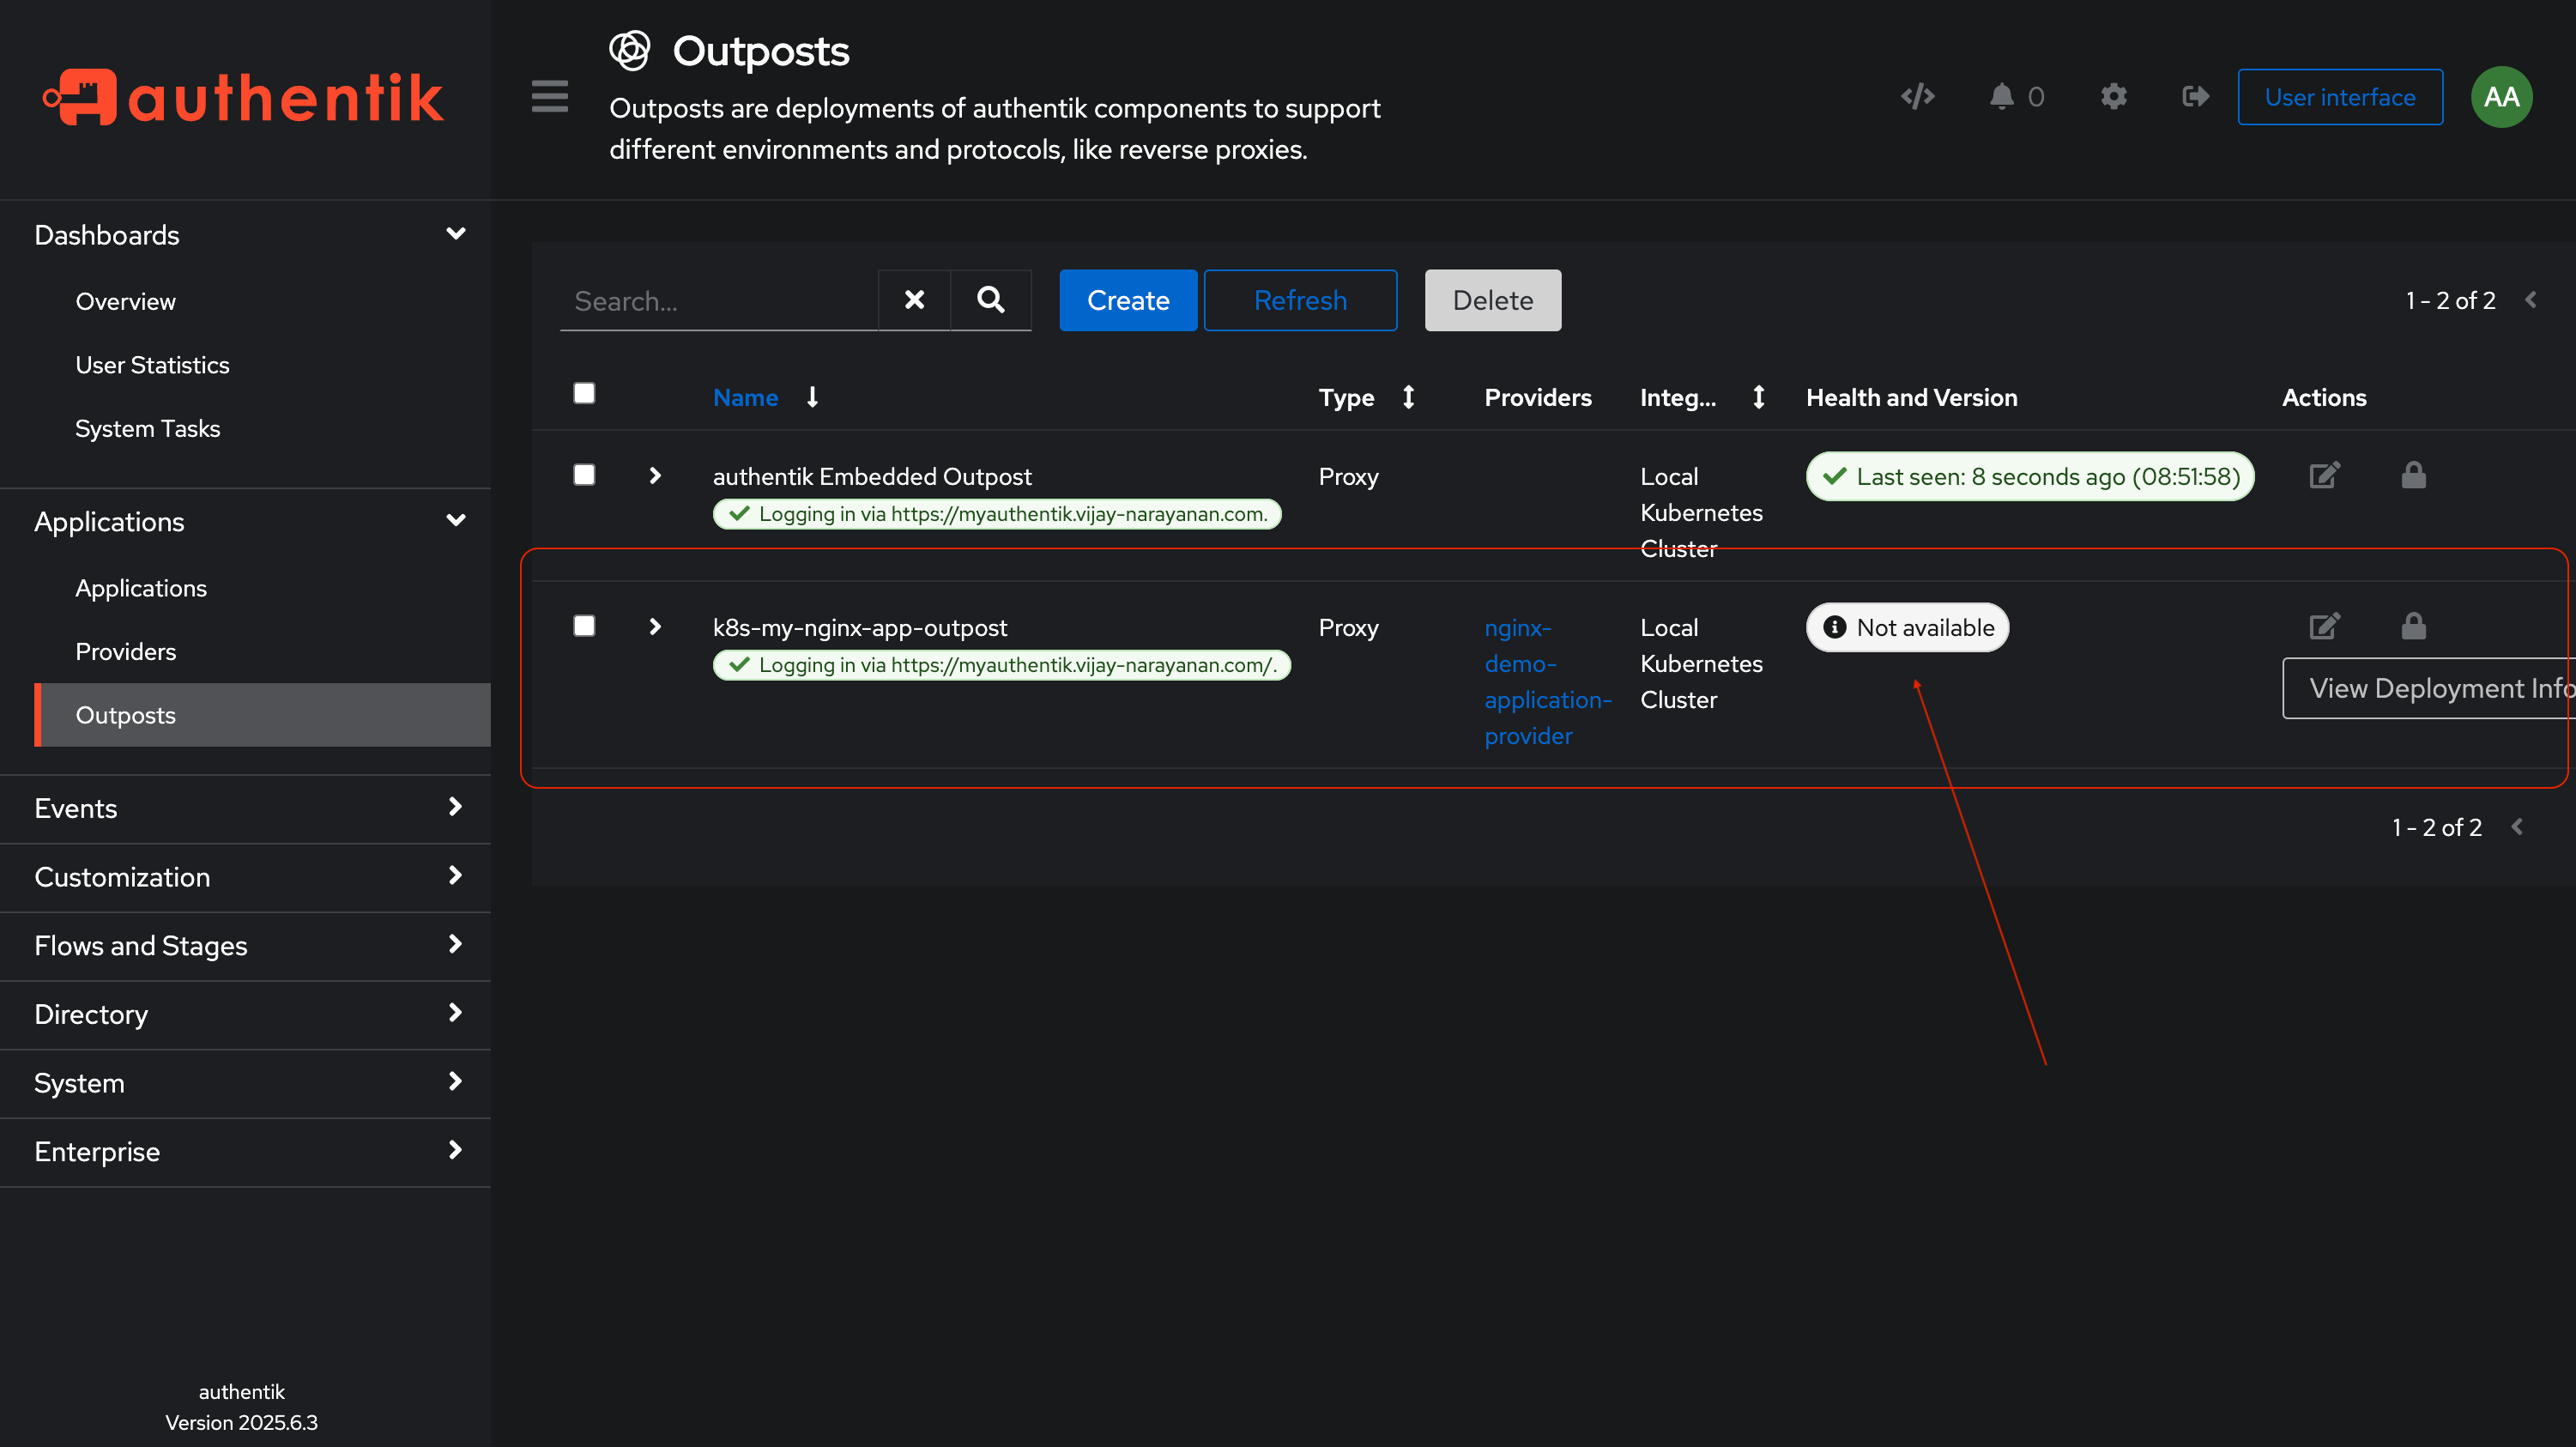
Now in your kubernetes cluster, within the authentik namespace, you will see a new deployment and service created for the outpost.
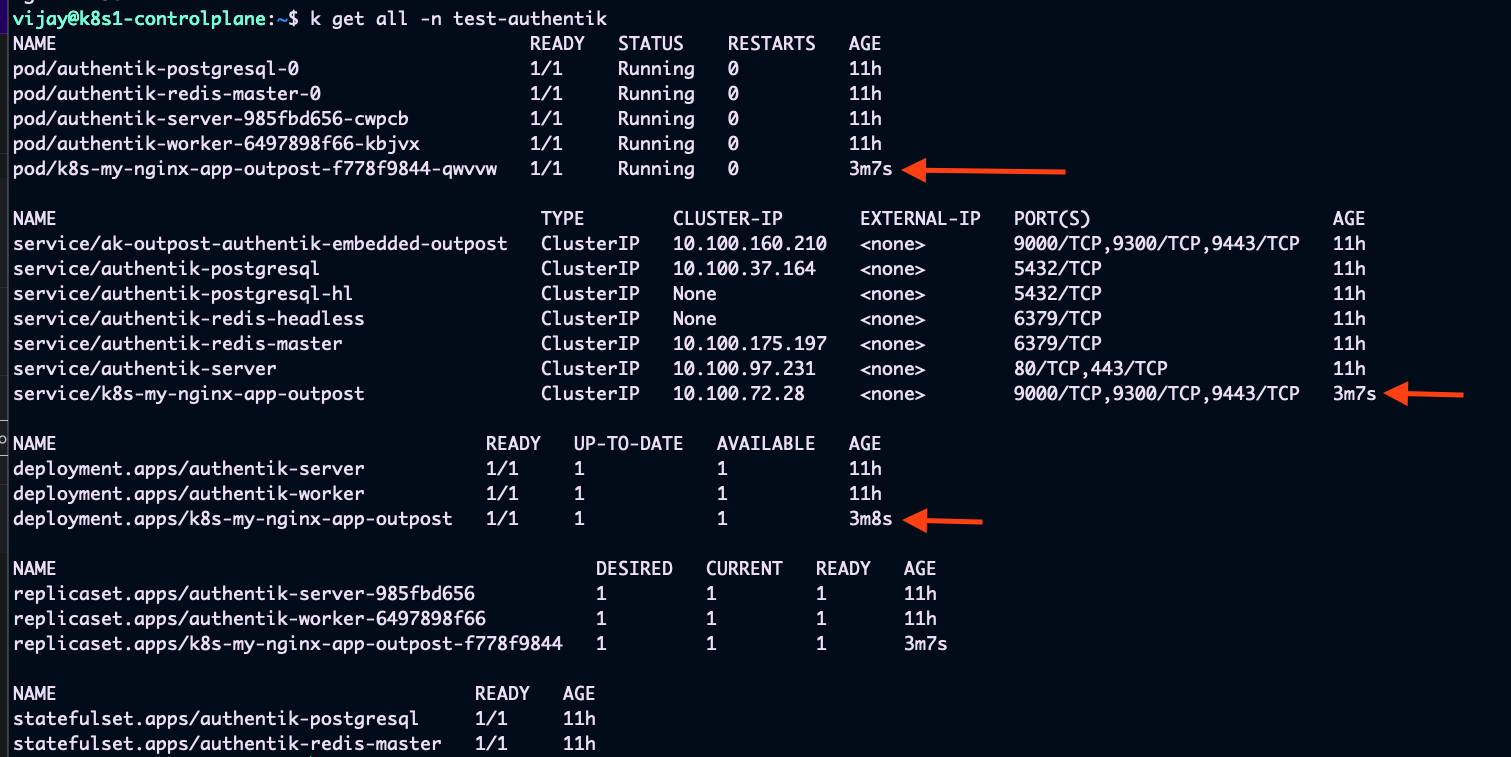
Wait for the outpost to be ready. You can check the status of the outpost in the Authentik admin panel under Outposts.
That’s it! You have successfully created an outpost in Authentik that will handle authentication for your application. The Next step is to configure Traefik to use this outpost for authentication.
Step 3: Configure Traefik to use Authentik
Now that we have set up Authentik, we need to configure Traefik to use the outpost we created for authentication.
Step 3.1: Create Middleware for Authentik
Create a middleware in Traefik that will use the Authentik outpost for authentication.
Create a file named authentik-middleware.yaml with the following content:
# authentik-middleware.yaml
apiVersion: traefik.io/v1alpha1
kind: Middleware
metadata:
  name: authentik-forwardauth-nginx
  namespace: nginx
spec:
  forwardAuth:
    address: http://k8s-my-nginx-app-outpost.authentik.svc.cluster.local:9000/outpost.goauthentik.io/auth/traefik
    authResponseHeaders:
      - X-Authentik-Username
      - X-Authentik-Groups
      - X-Authentik-Email
    trustForwardHeader: true
Make sure to replace k8s-my-nginx-app-outpost with the name of your outpost and nginx with the namespace where your application is running.
The above middleware will forward authentication requests to the Authentik outpost and set the necessary headers for Traefik to use.
Apply the middleware to your Kubernetes cluster:
kubectl apply -f authentik-middleware.yaml
Step 3.2: Update IngressRoute to use Middleware
Now, we need to update the IngressRoute for our application to use the middleware we just created.
Edit the nginx-ingressroute.yaml file to include the middleware:
# nginx-ingressroute.yaml
apiVersion: traefik.io/v1alpha1
kind: IngressRoute
metadata:
  name: nginx
  namespace: nginx
spec:
  entryPoints:
  - websecure
  routes:
  - kind: Rule
    match: Host(`nginx.yourdomain.com`)
    middlewares:
     - name: authentik-forwardauth-nginx
       namespace: nginx
    services:
     - name: nginx
       port: 80
Here, we have added the middleware authentik-forwardauth-nginx to the IngressRoute, which will handle authentication requests.
Apply the updated IngressRoute:
kubectl apply -f nginx-ingressroute.yaml
Once the IngressRoute is updated, Traefik will start using Authentik for authentication.
Step 4: Test the Setup
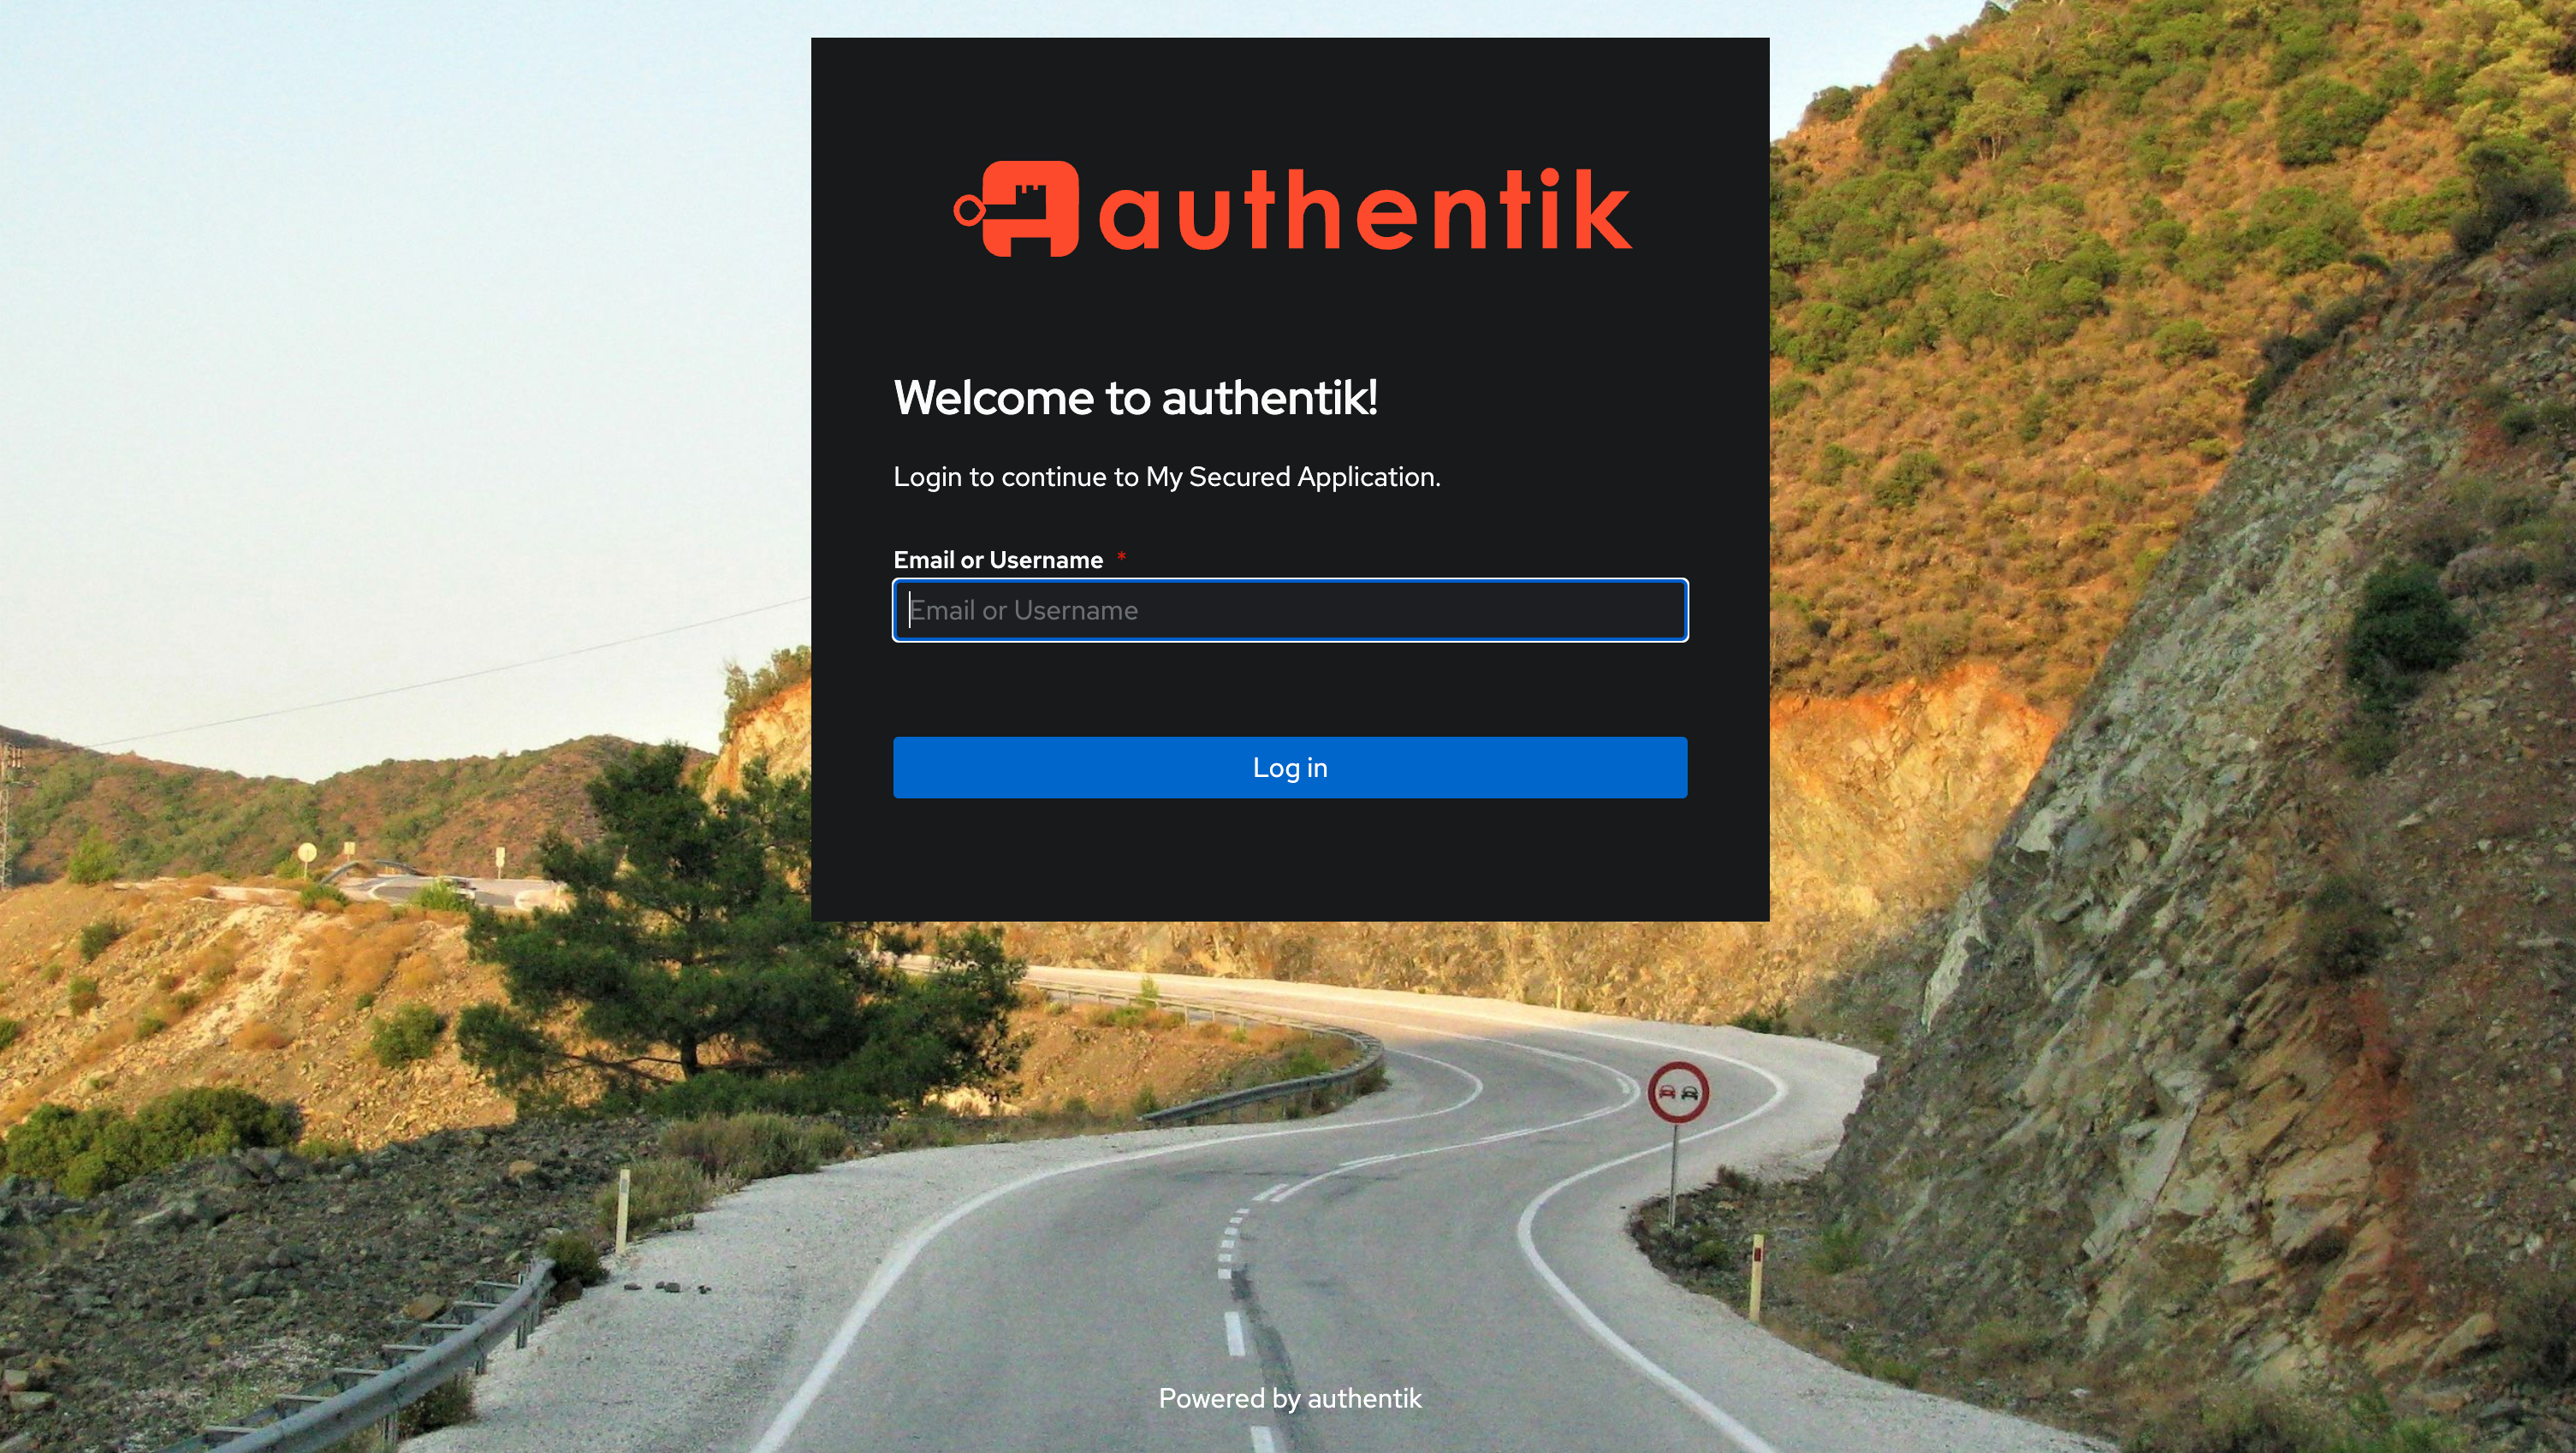
Visit your application URL (e.g., https://nginx.yourdomain.com).
You should be redirected to the Authentik login page for authentication.
Once you log in, you will be prompted to authorize the application.
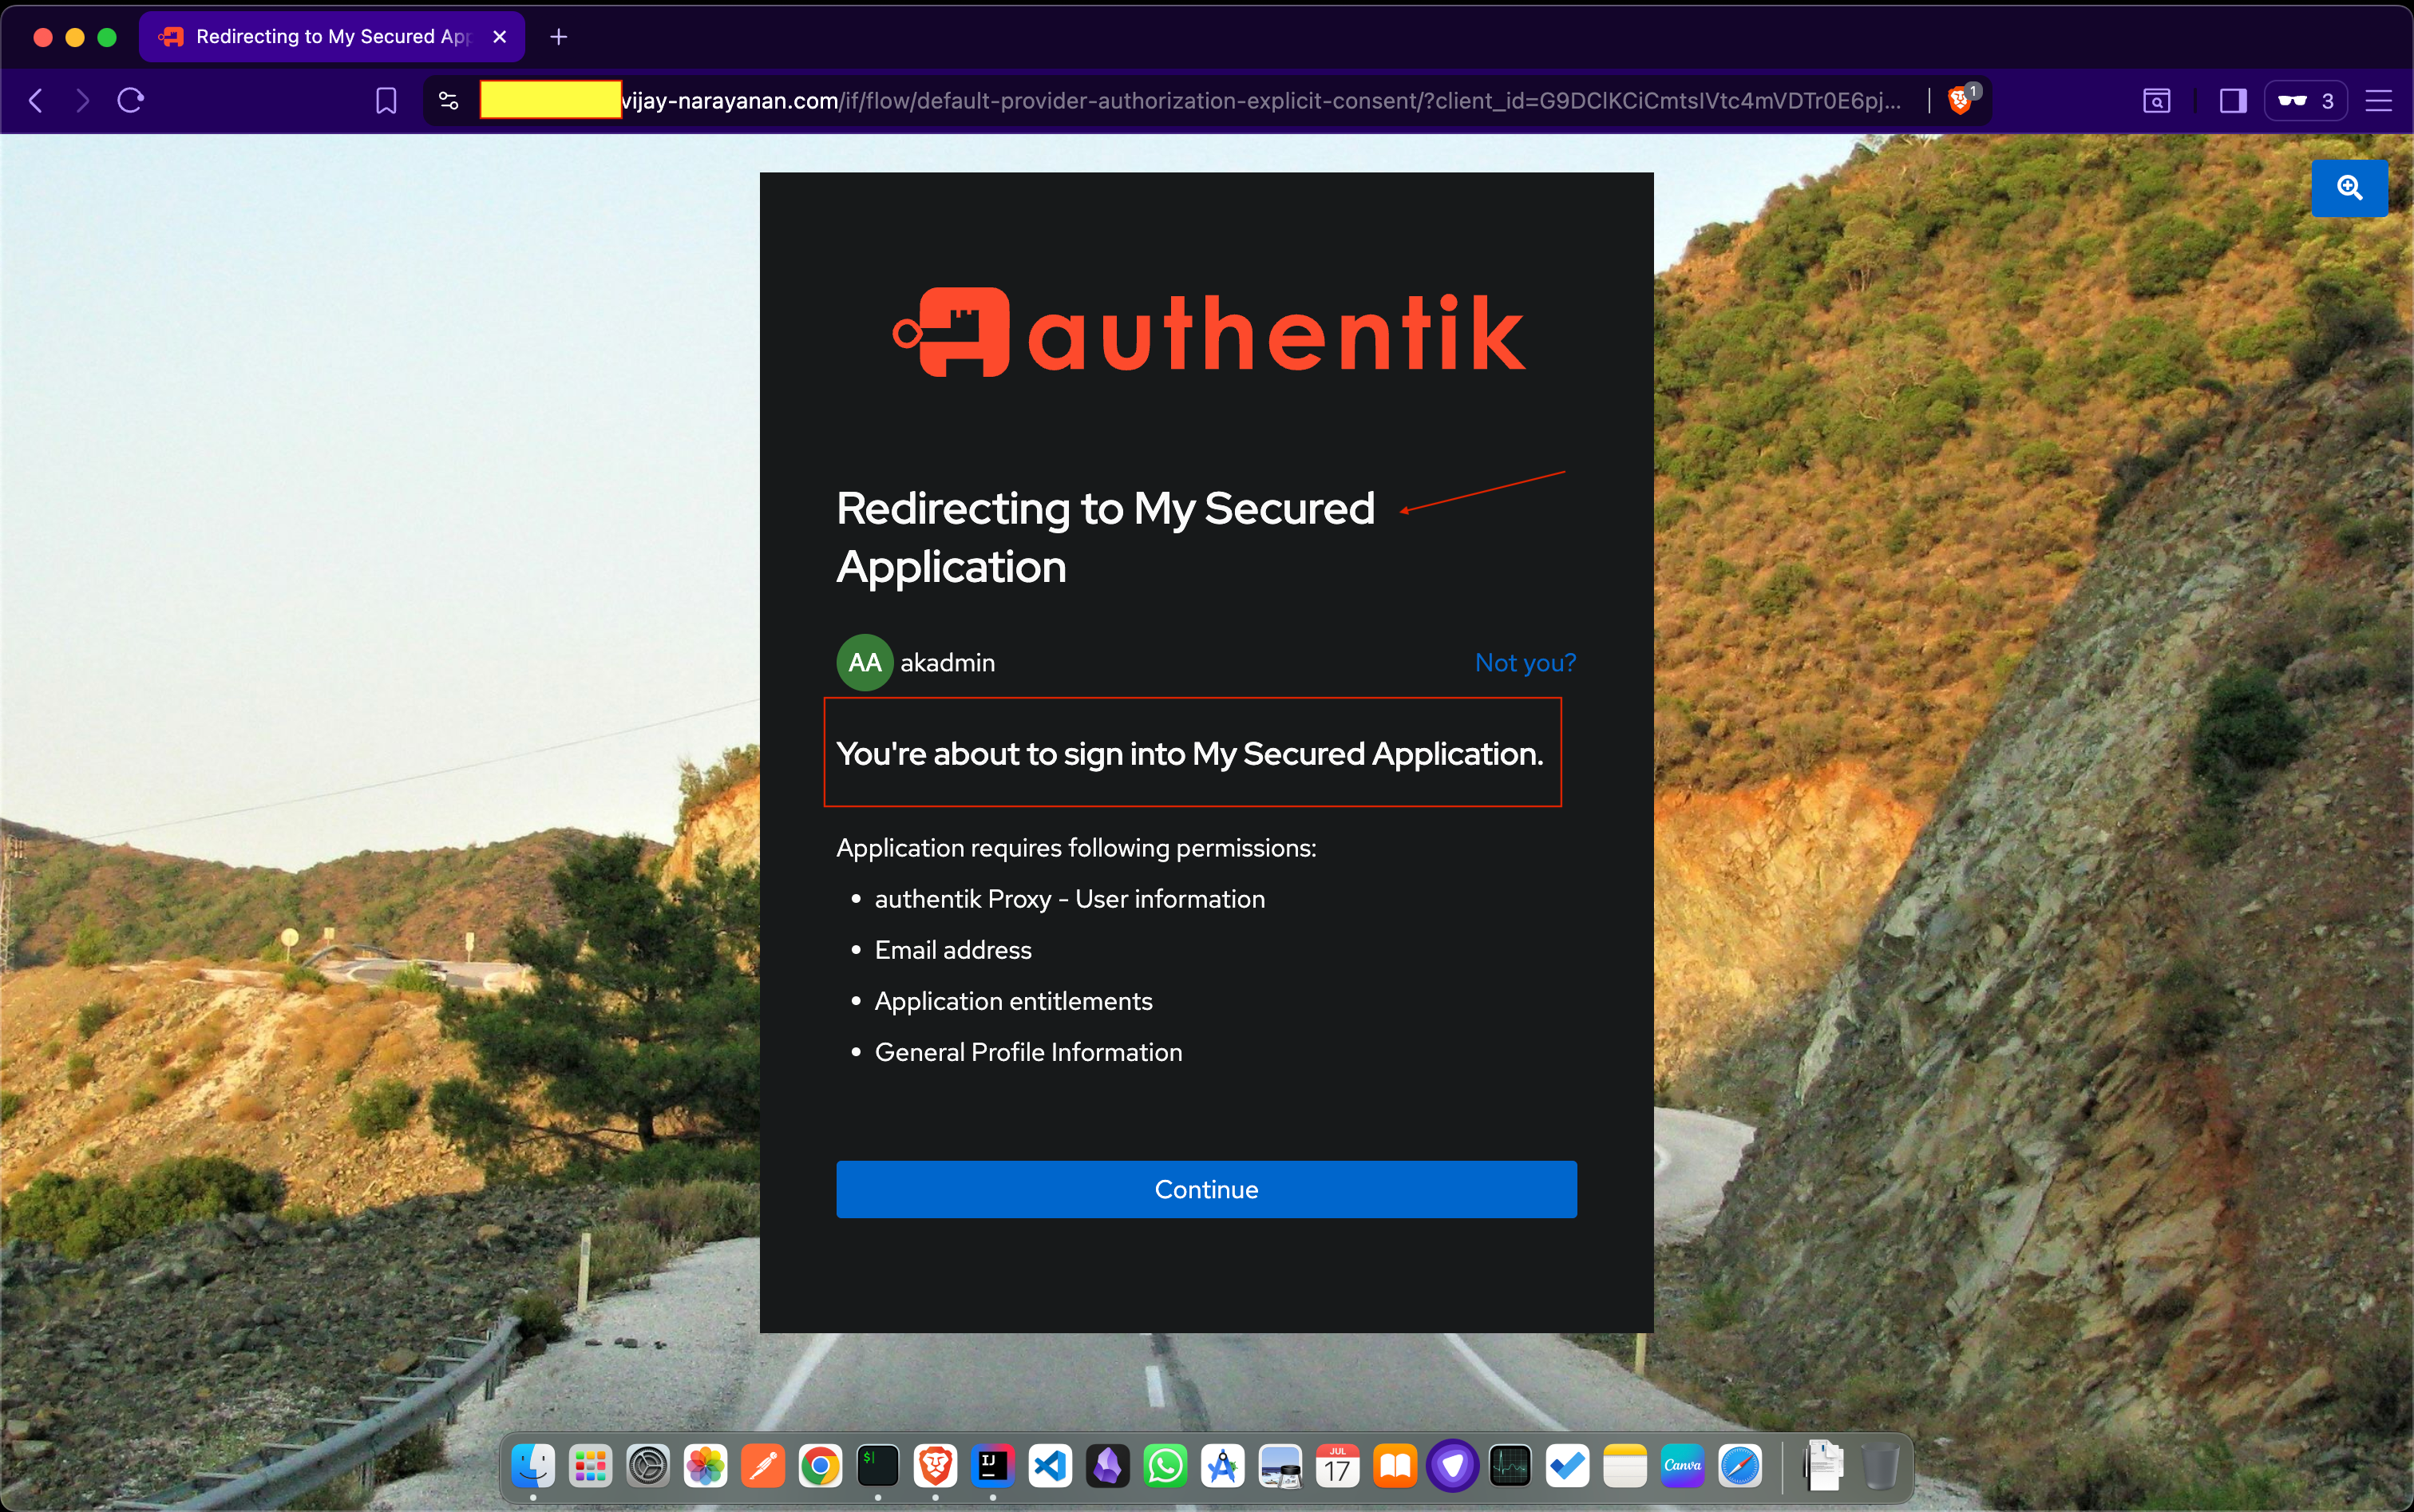
If everything is set up correctly, you should be able to access your application after successful authentication.
Conclusion
In this guide, we have successfully secured a public web application running on Kubernetes using Authentik as the identity provider.