Introduction
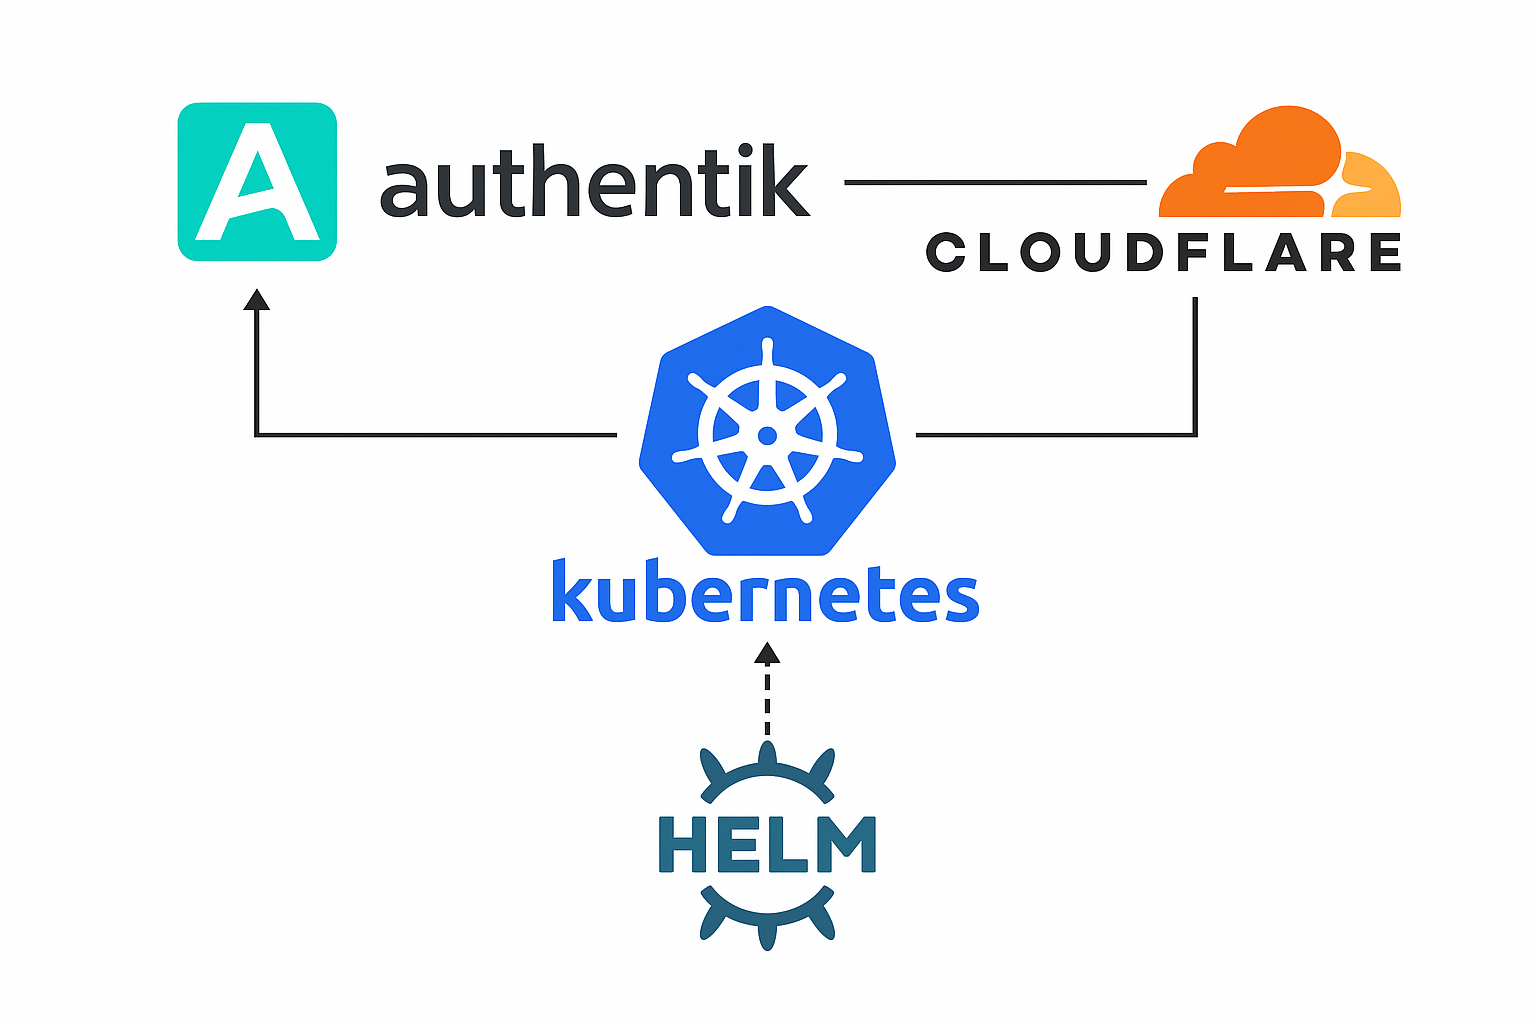
Authentik is an open-source identity provider that can be used to manage authentication and authorization for your applications. In this guide, I will explain how to install Authentik in a Kubernetes cluster to secure applications.
Prerequisites
- A Kubernetes cluster with Traefik installed.
- Helm package manager installed and has required permissions to install and manage resources in the cluster.
- Cloudflare account with your domain configured.
- Already configured Cloudflare tunnel to use Traefik Ingress Controller.
Installation Guide
Step 1: Generate Secrets
Before we prepare the Helm chart values file, we need to create a secretKey for Authentik to sign the JWT tokens and create a password for PostgreSQL database.
Step 1.1: Create a random Password for PostgreSQL
sudo apt install -y pwgen
pwgen -s 50 1
This command generates a secure random password for the PostgreSQL database. Make sure to save this password securely as it will be used in the next steps.
Step 1.2: Create a secretKey for Authentik
openssl rand 60 | base64 -w 0
This command generates a secure random secret key for Authentik to sign the JWT tokens. Save this key securely as well.
Step 2: Prepare the Helm Chart Values File
Create a file named authentik-values.yaml with the following content:
Please replace the placeholders for secrets and domain with the values you generated in the previous step.
authentik:
    secret_key: "PASTE_YOUR_GENERATED_SECRET"
    # This sends anonymous usage-data, stack traces on errors and
    # performance data to sentry.io, and is fully opt-in
    error_reporting:
        enabled: true
    postgresql:
        password: "PASTE_YOUR_GENERATED_POSTGRES_PASSWORD"

server:
    ingress:
        # Specify kubernetes ingress controller class name
        ingressClassName: traefik
        enabled: true
        hosts:
            - authentik.yourdomain.com # Replace it with your domain

postgresql:
    enabled: true
    auth:
        password: "PASTE_YOUR_GENERATED_POSTGRES_PASSWORD"
redis:
    enabled: true
Step 3: Install Authentik Chart using Helm
Run the following command to install Authentik using Helm:
helm repo add authentik https://charts.goauthentik.io
helm repo update
helm install authentik authentik/authentik -f authentik-values.yaml --namespace authentik --create-namespace
This command installs Authentik in the authentik namespace using the values specified in the authentik-values.yaml file.
You can check the status of the installation using:
kubectl get all -n authentik
Wait for the pods to be in the Running state before proceeding to the next step.
Step 4: Verify the Installation
In the values file, we specified the domain as authentik.yourdomain.com. By default, Ingress should be created for the Authentik service.
You can verify this by checking the Ingress:
kubectl get ingress -n authentik
You should see an Ingress for authentik.yourdomain.com.
You can also check the Authentik service by accessing the URL in your browser:
https://authentik.yourdomain.com
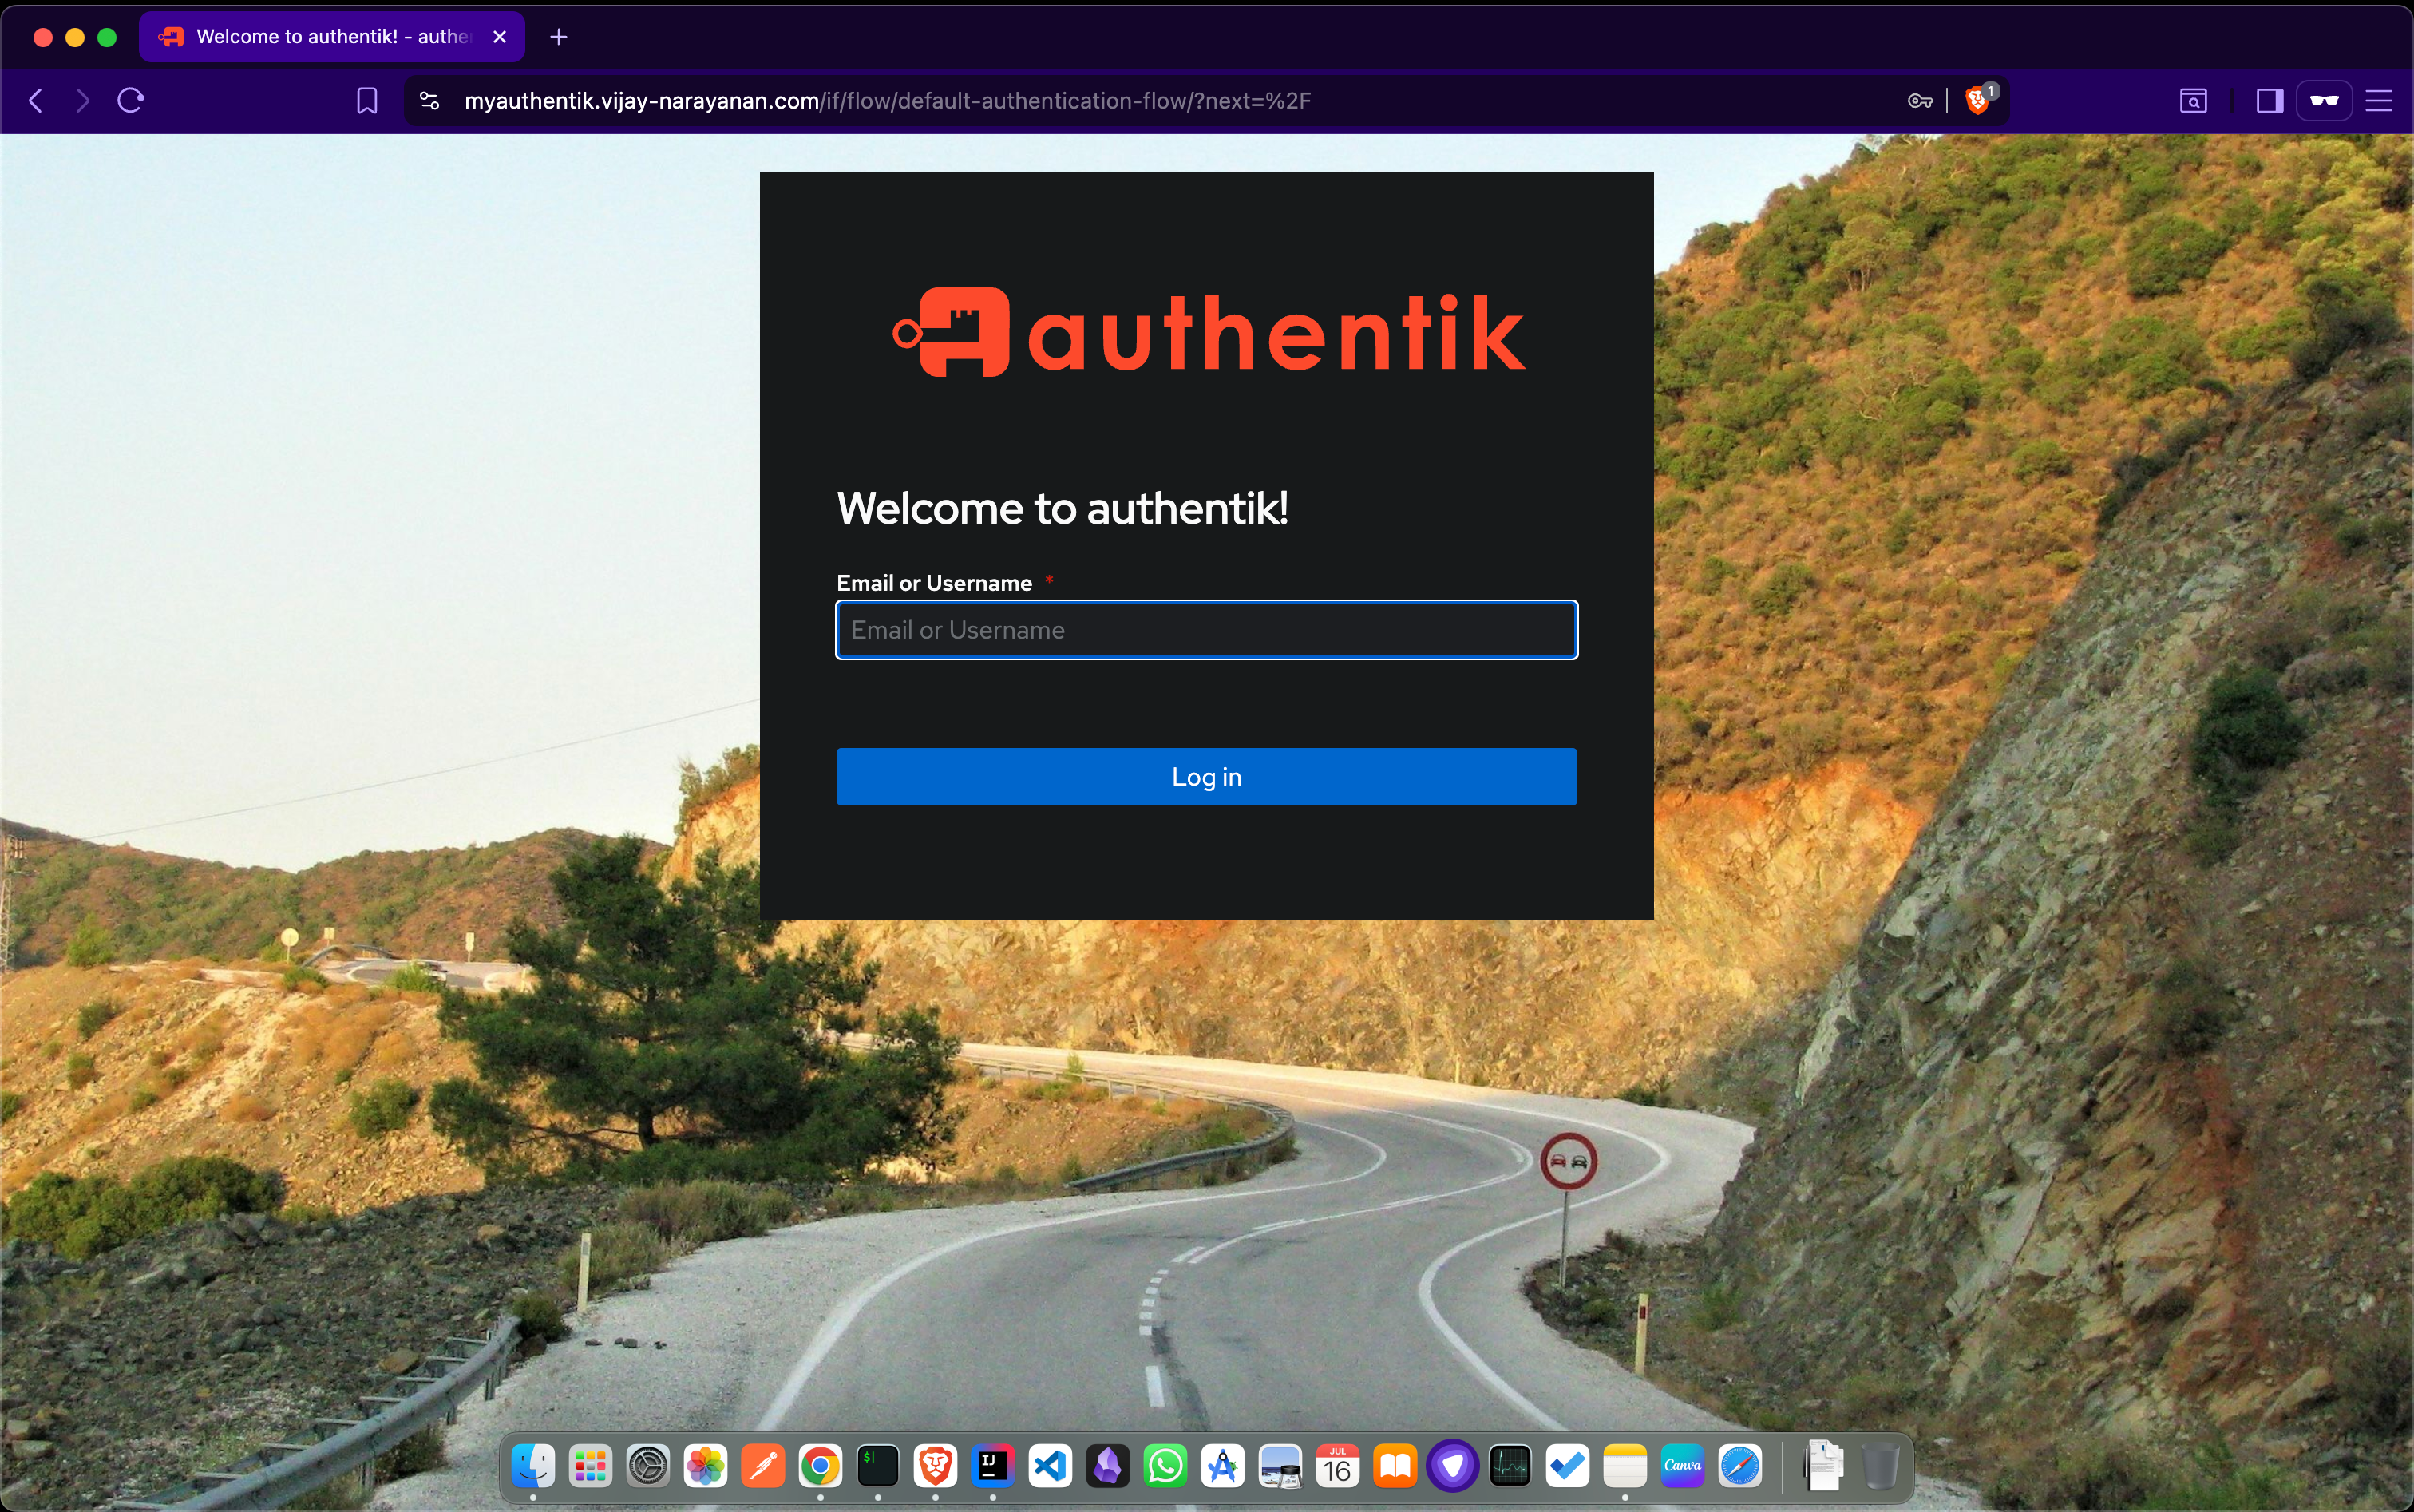
After the installation is complete, access authentik at https://authentik.yourdomain.com/if/flow/initial-setup/. Here, you can set a password for the default akadmin user.
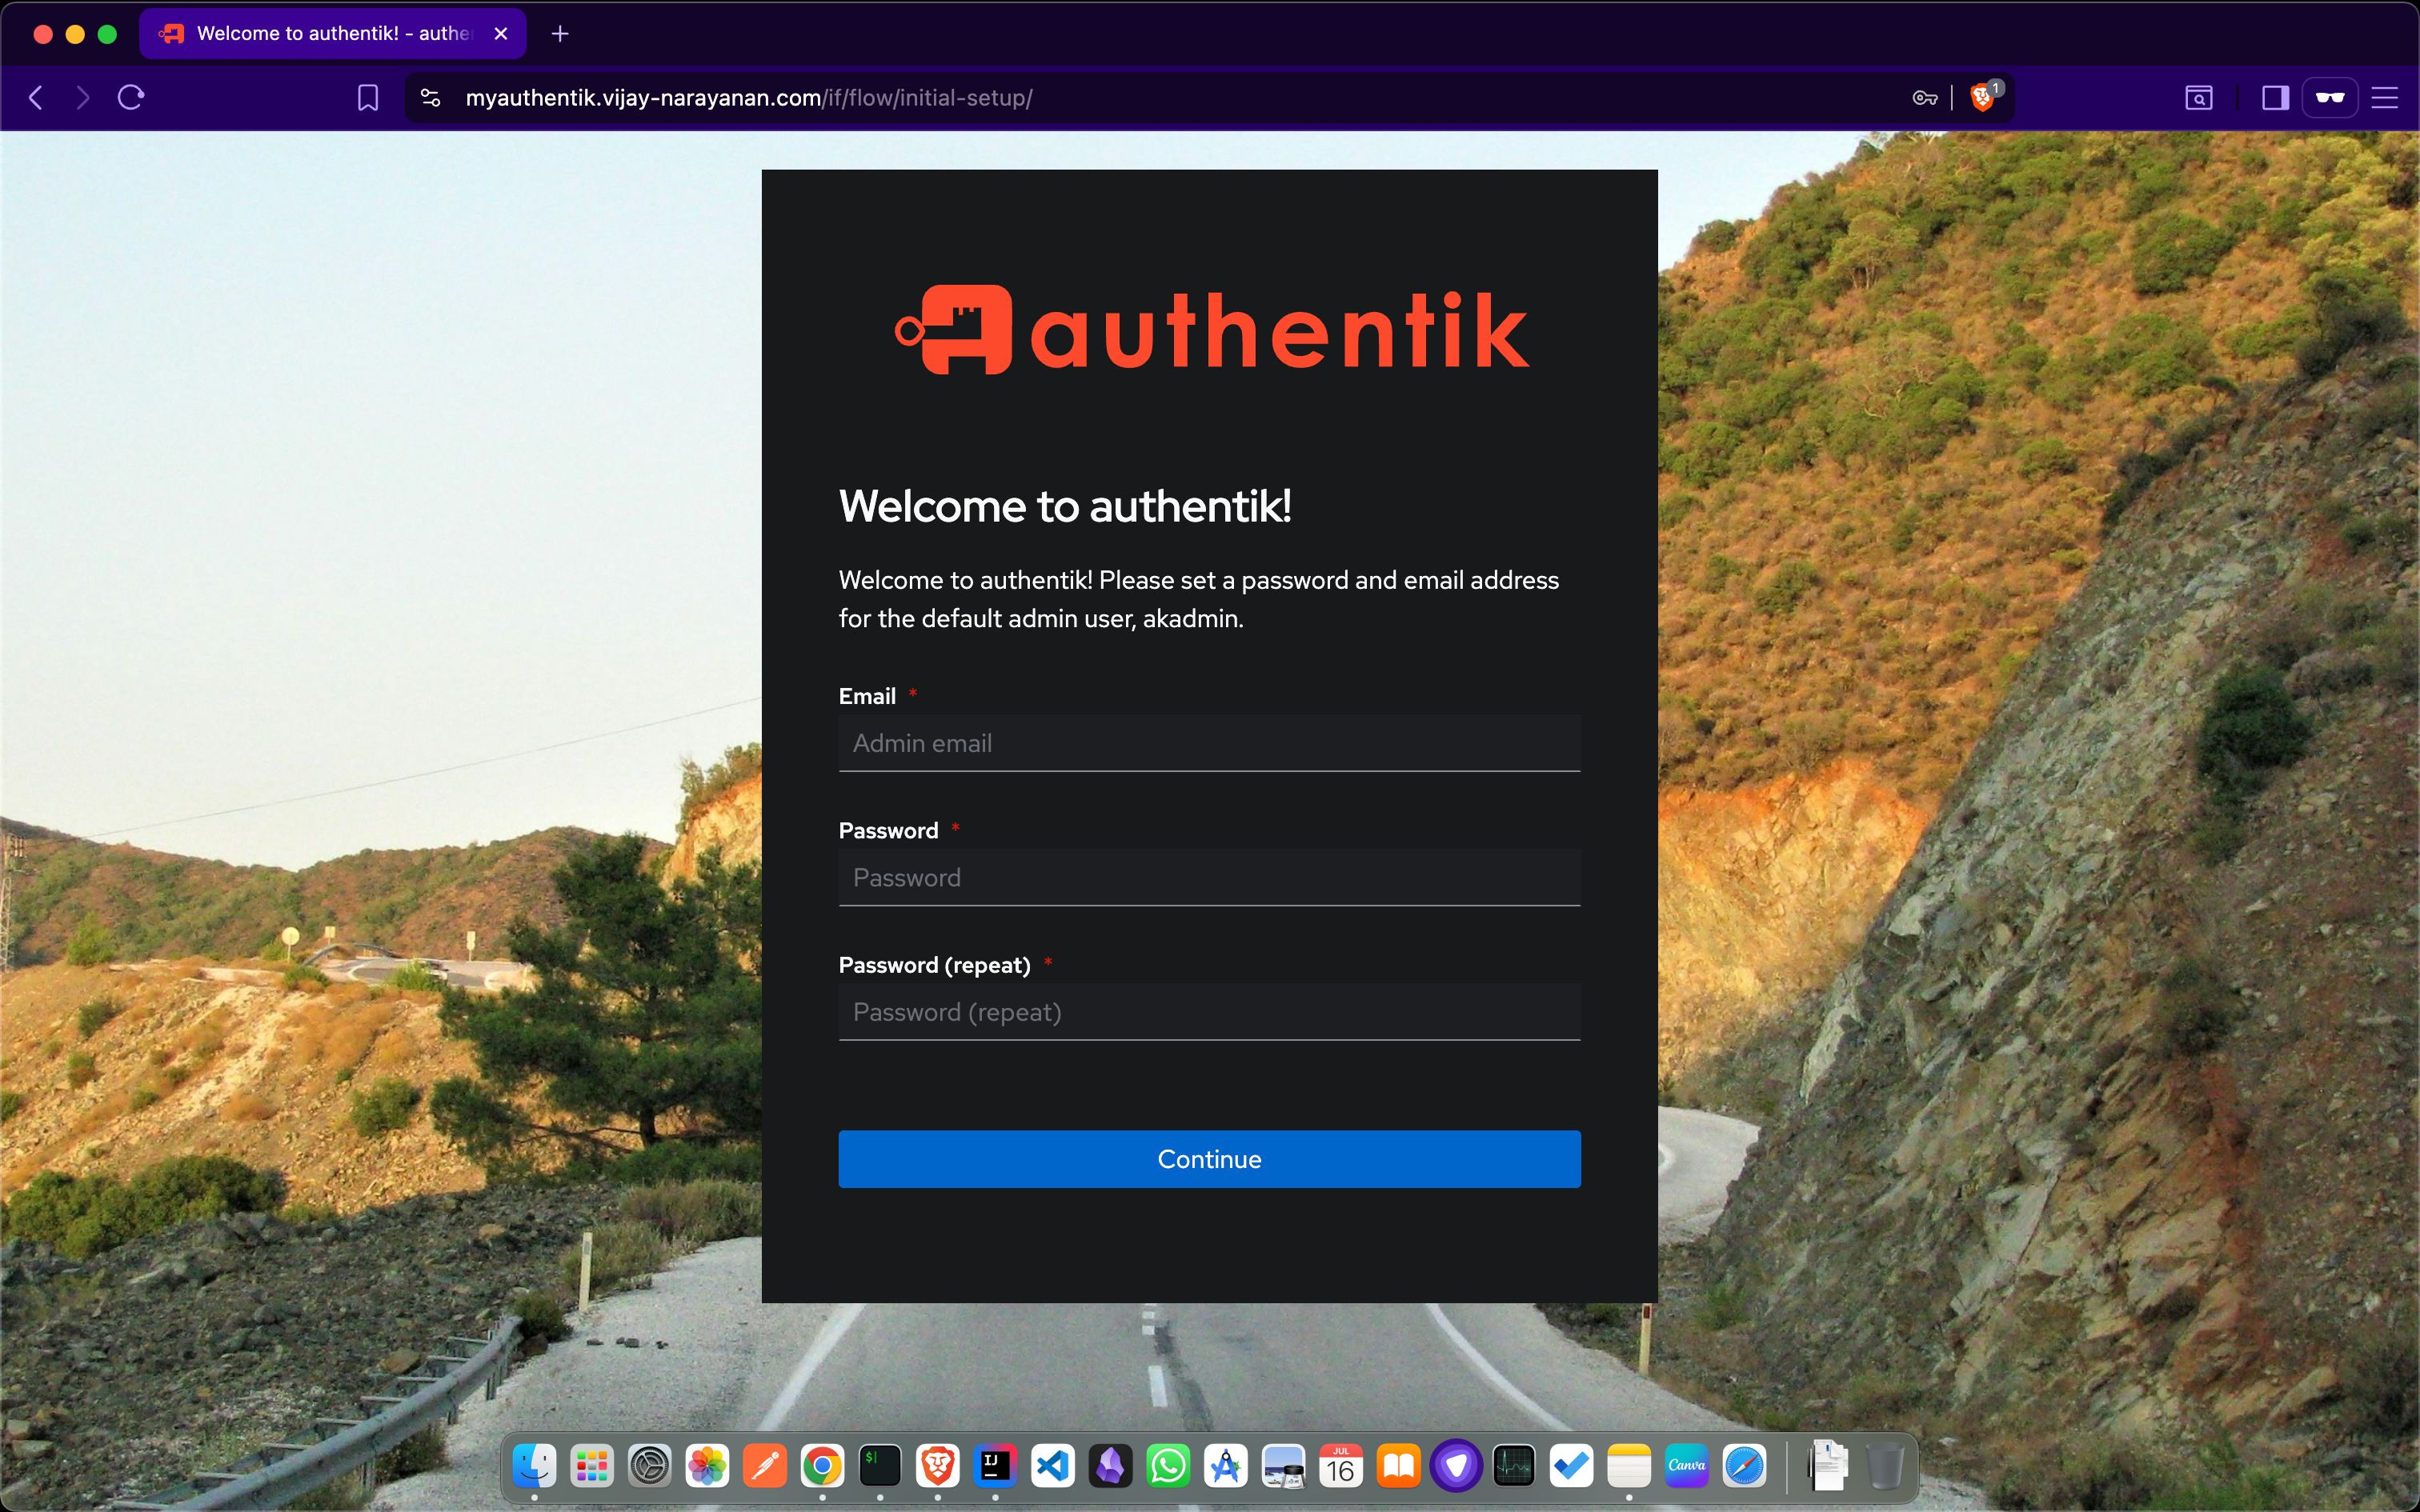
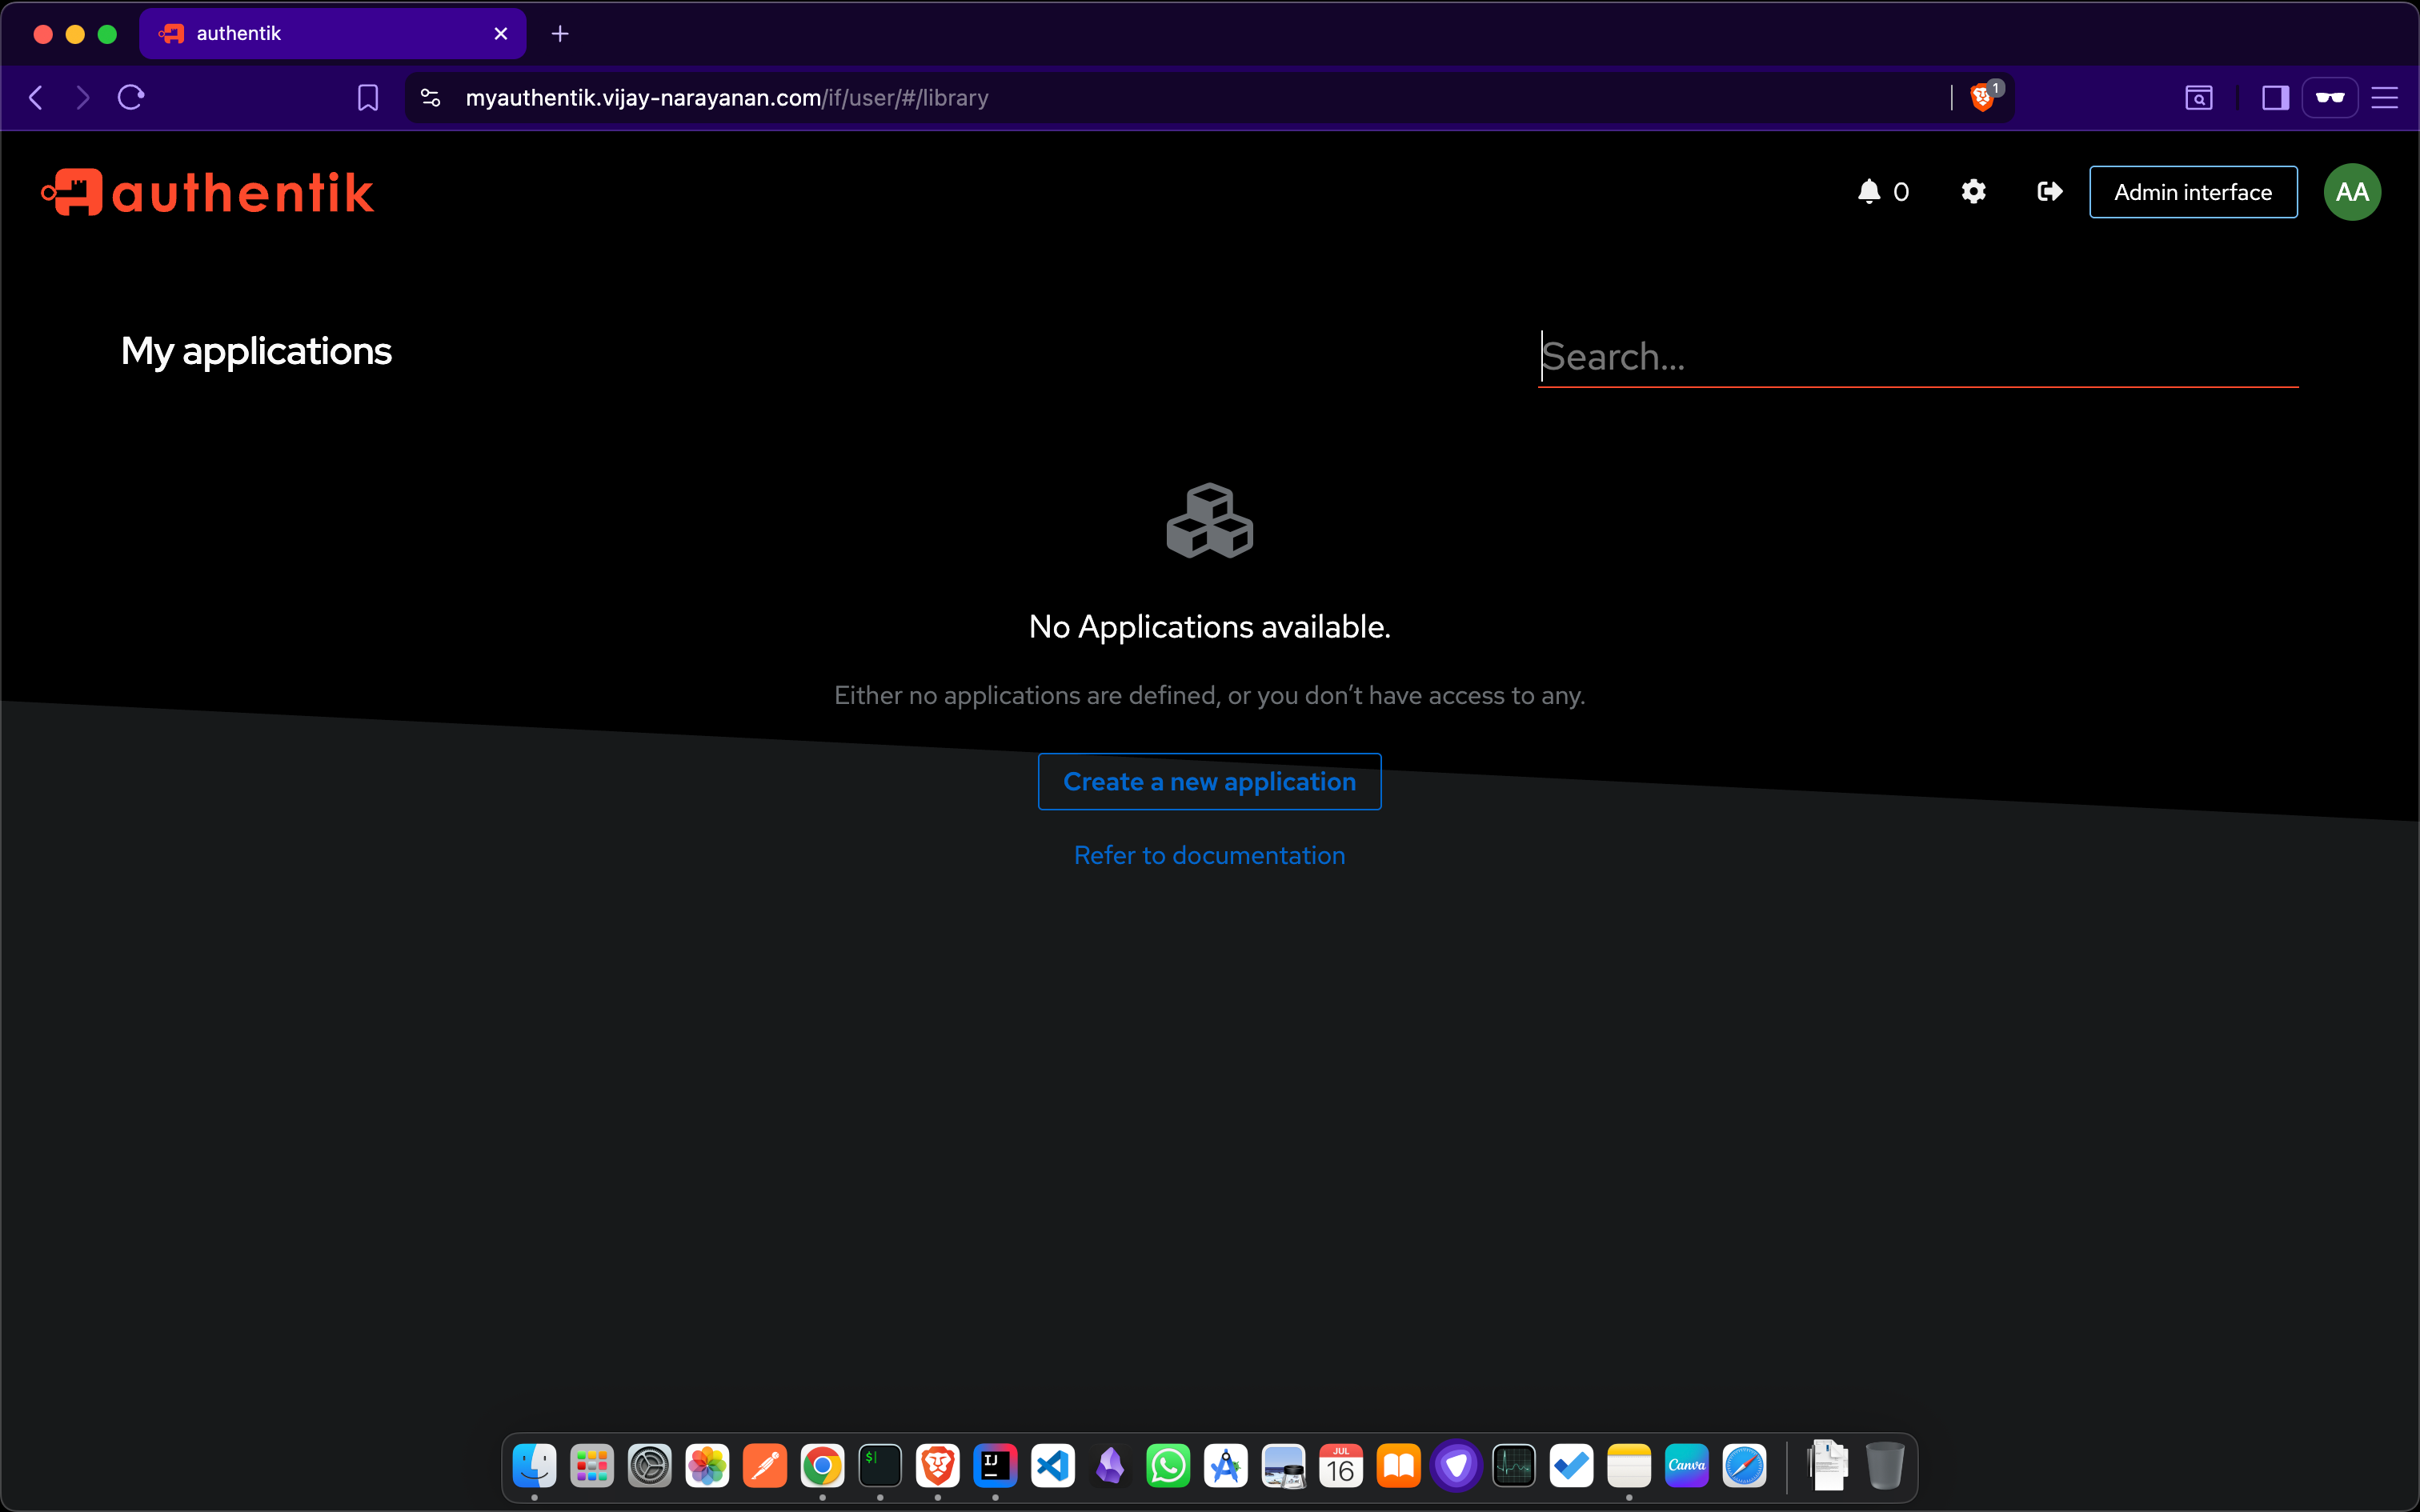
Once you set the password, you can log in to the Authentik dashboard using the akadmin user.

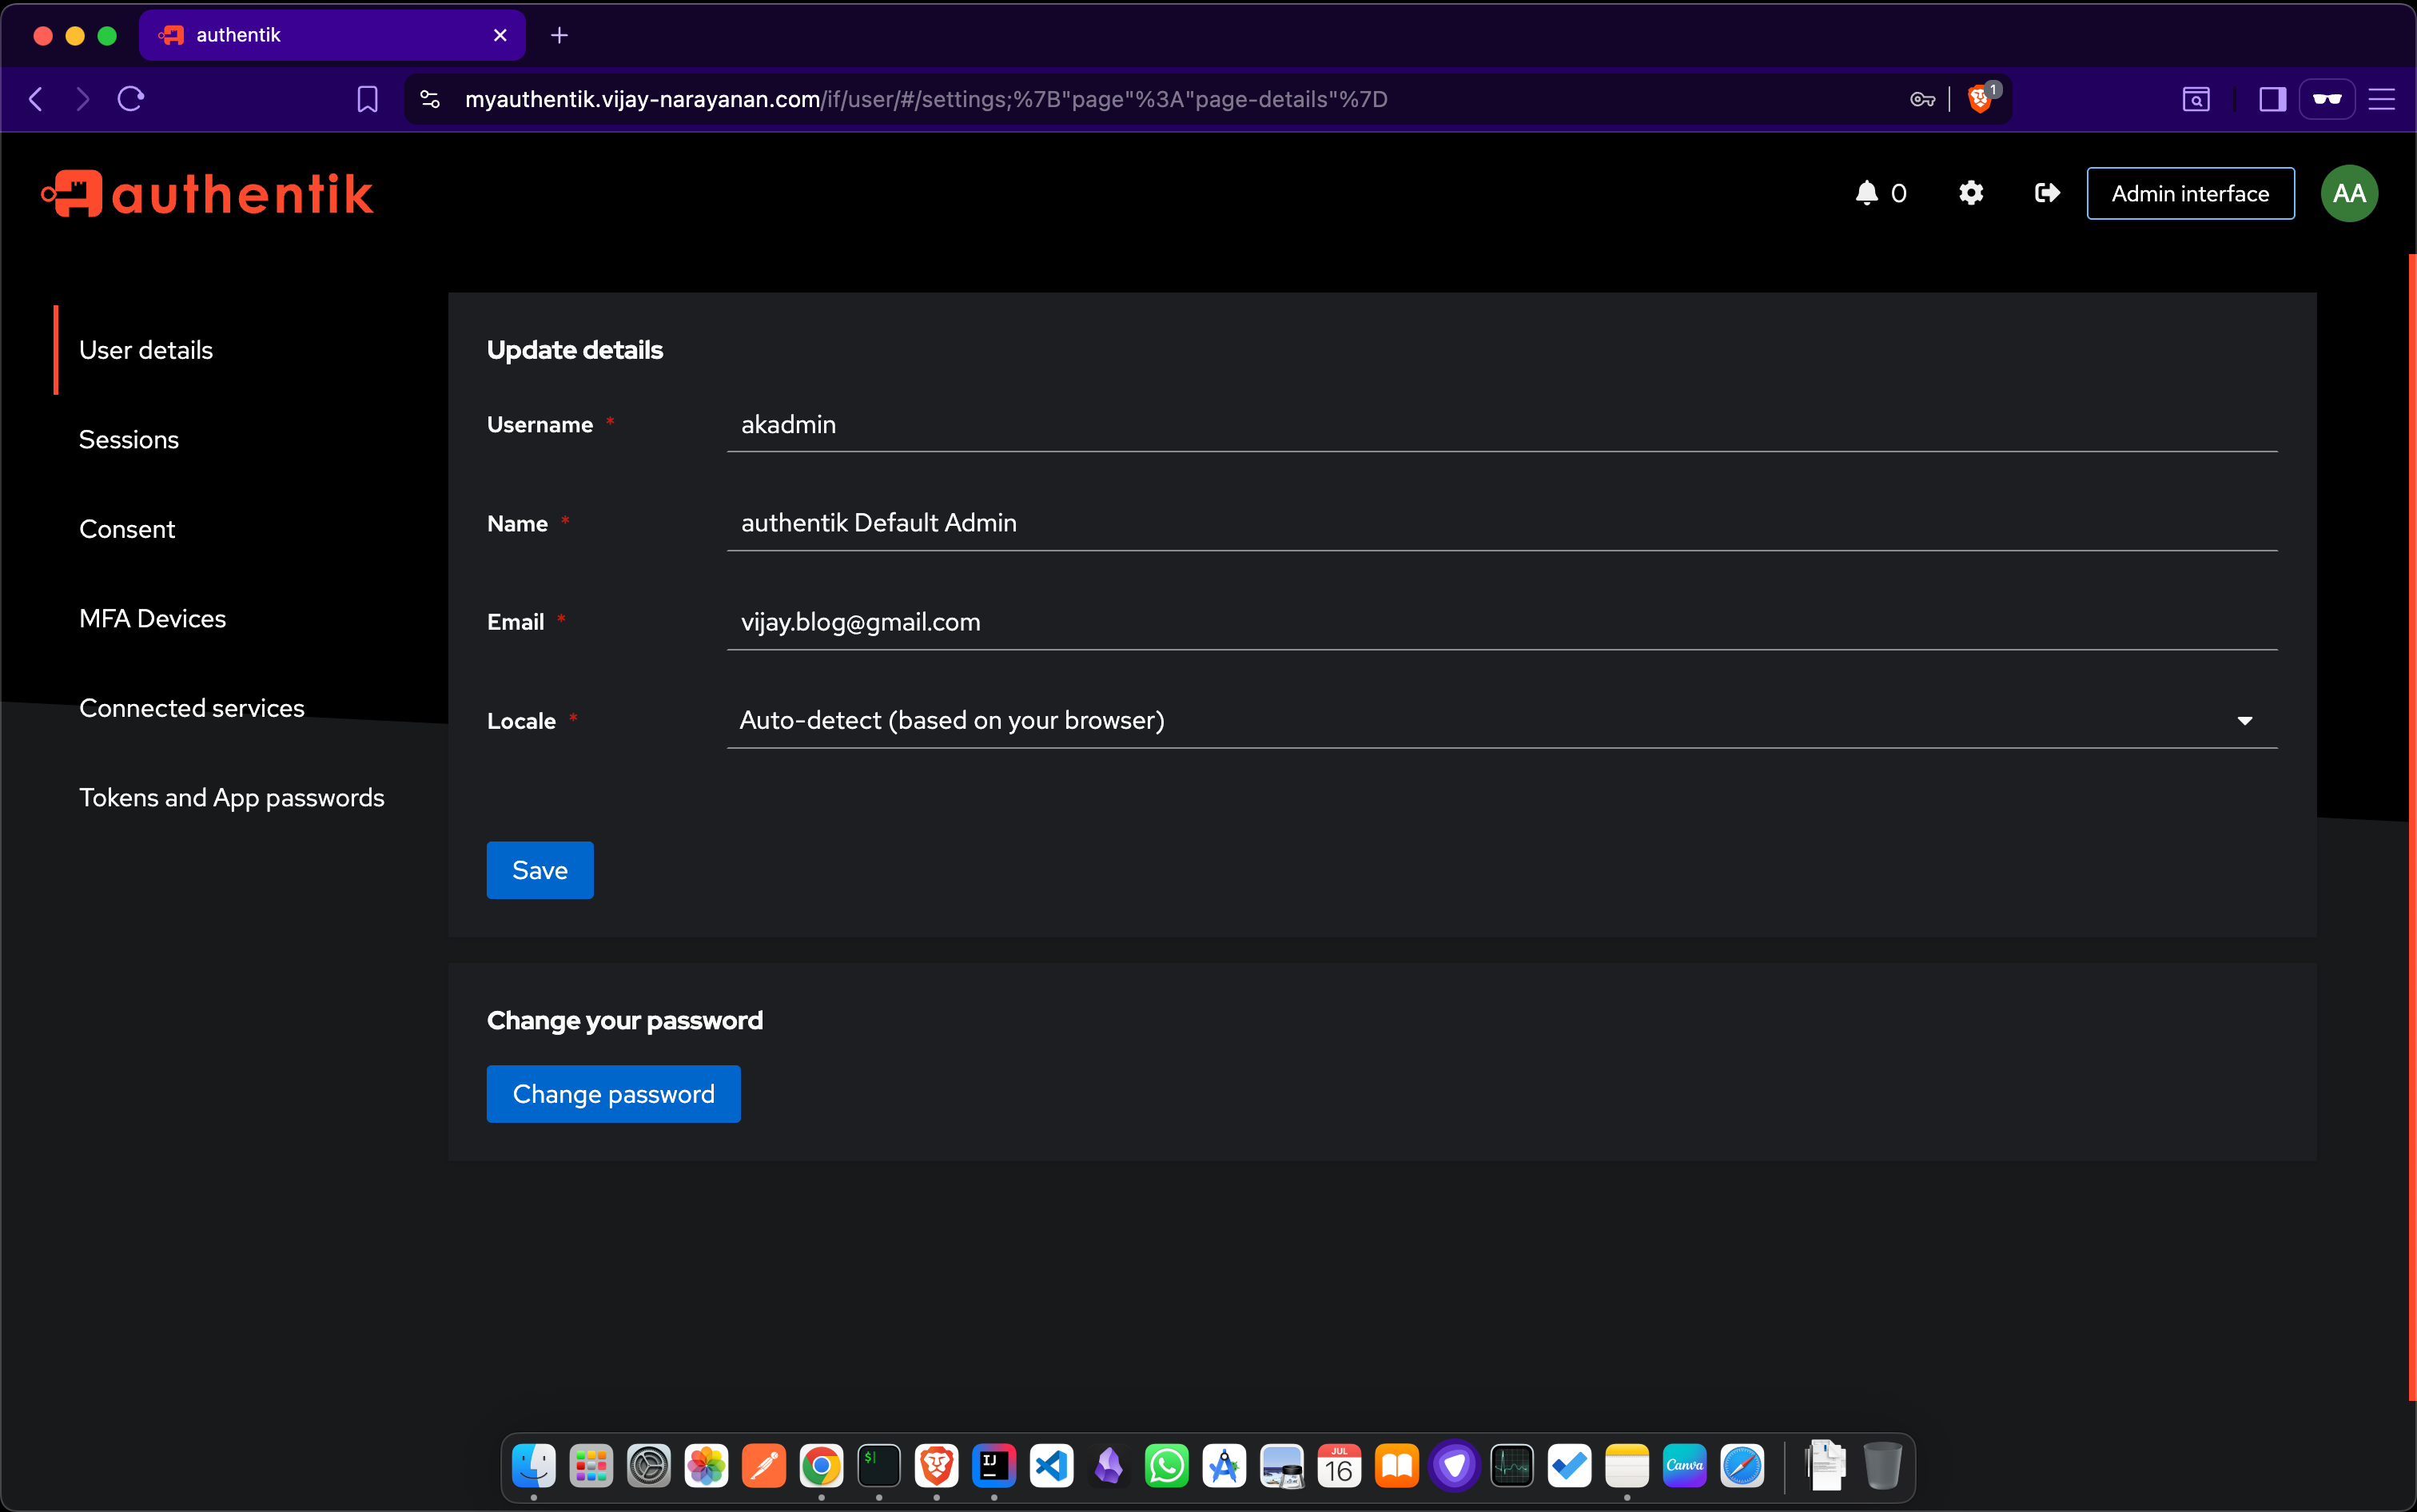
Home page of Authentik dashboard will look like this:
Step 5: Reset the akadmin Password
If you need to reset the akadmin password, go to AdminInterface > UsersDetails, select the akadmin user, and click on the “Reset Password” button.
In the next blog post, I will explain how to configure Authentik to secure applications using ProxyProvider.
Conclusion
In this guide, we have successfully installed Authentik in a Kubernetes cluster using Helm. We also verified the installation and set up the initial admin user.
Please check the below blog post to learn how to configure Authentik to secure applications using ProxyProvider.